Authentik is an Open Source Identity Provider which I currently use outside of my VCF homelab. William Lam has published a number of different posts about Authentik, one of which is how to use it as an IdP with vCenter. I figured I’d be able to use it as an Identity Source for VCF SSO using VMware Identity Broker (VIDB). It turns out that the steps are largely the same, so credit where credit is due.
As per William’s blog, this isn’t officially supported for vCenter, and neither is it supported with VCF. But for a homelab, it works great. This method works for both embedded and full instance VIDB, and it works in both 9.0 and 9.1. This blog will focus on the instance deployment of VIDB in VCF 9.1
I won’t go into any deep dives about how to install Authentik or configure the users, William covers that as does the official Authentik documentation.
Prerequisites:
- Authentik installed (I’m using ghcr.io/goauthentik/server:2026.5.3)
- VCF 9.x & VIDB deployed
- VCF components and Authentik must be able to resolve and reach each other over the network
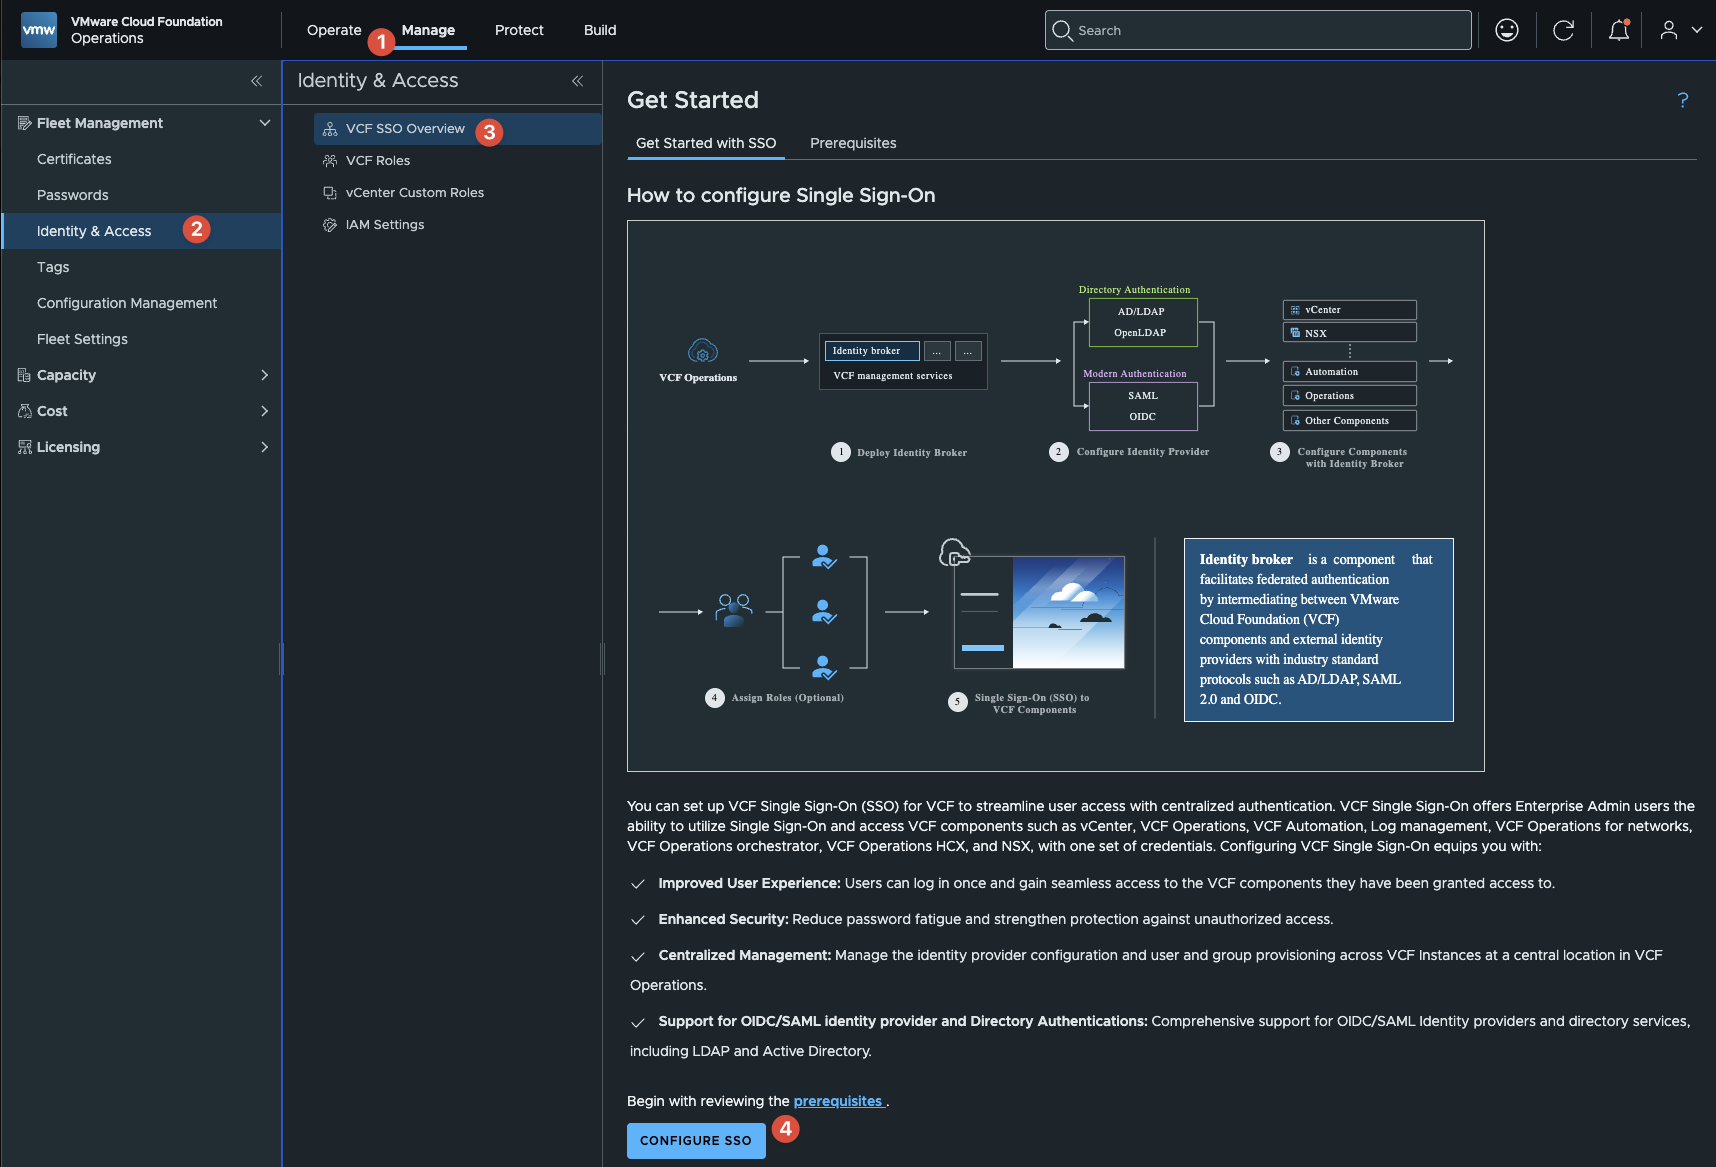
Step 1: Configure SSO in VCF Operations
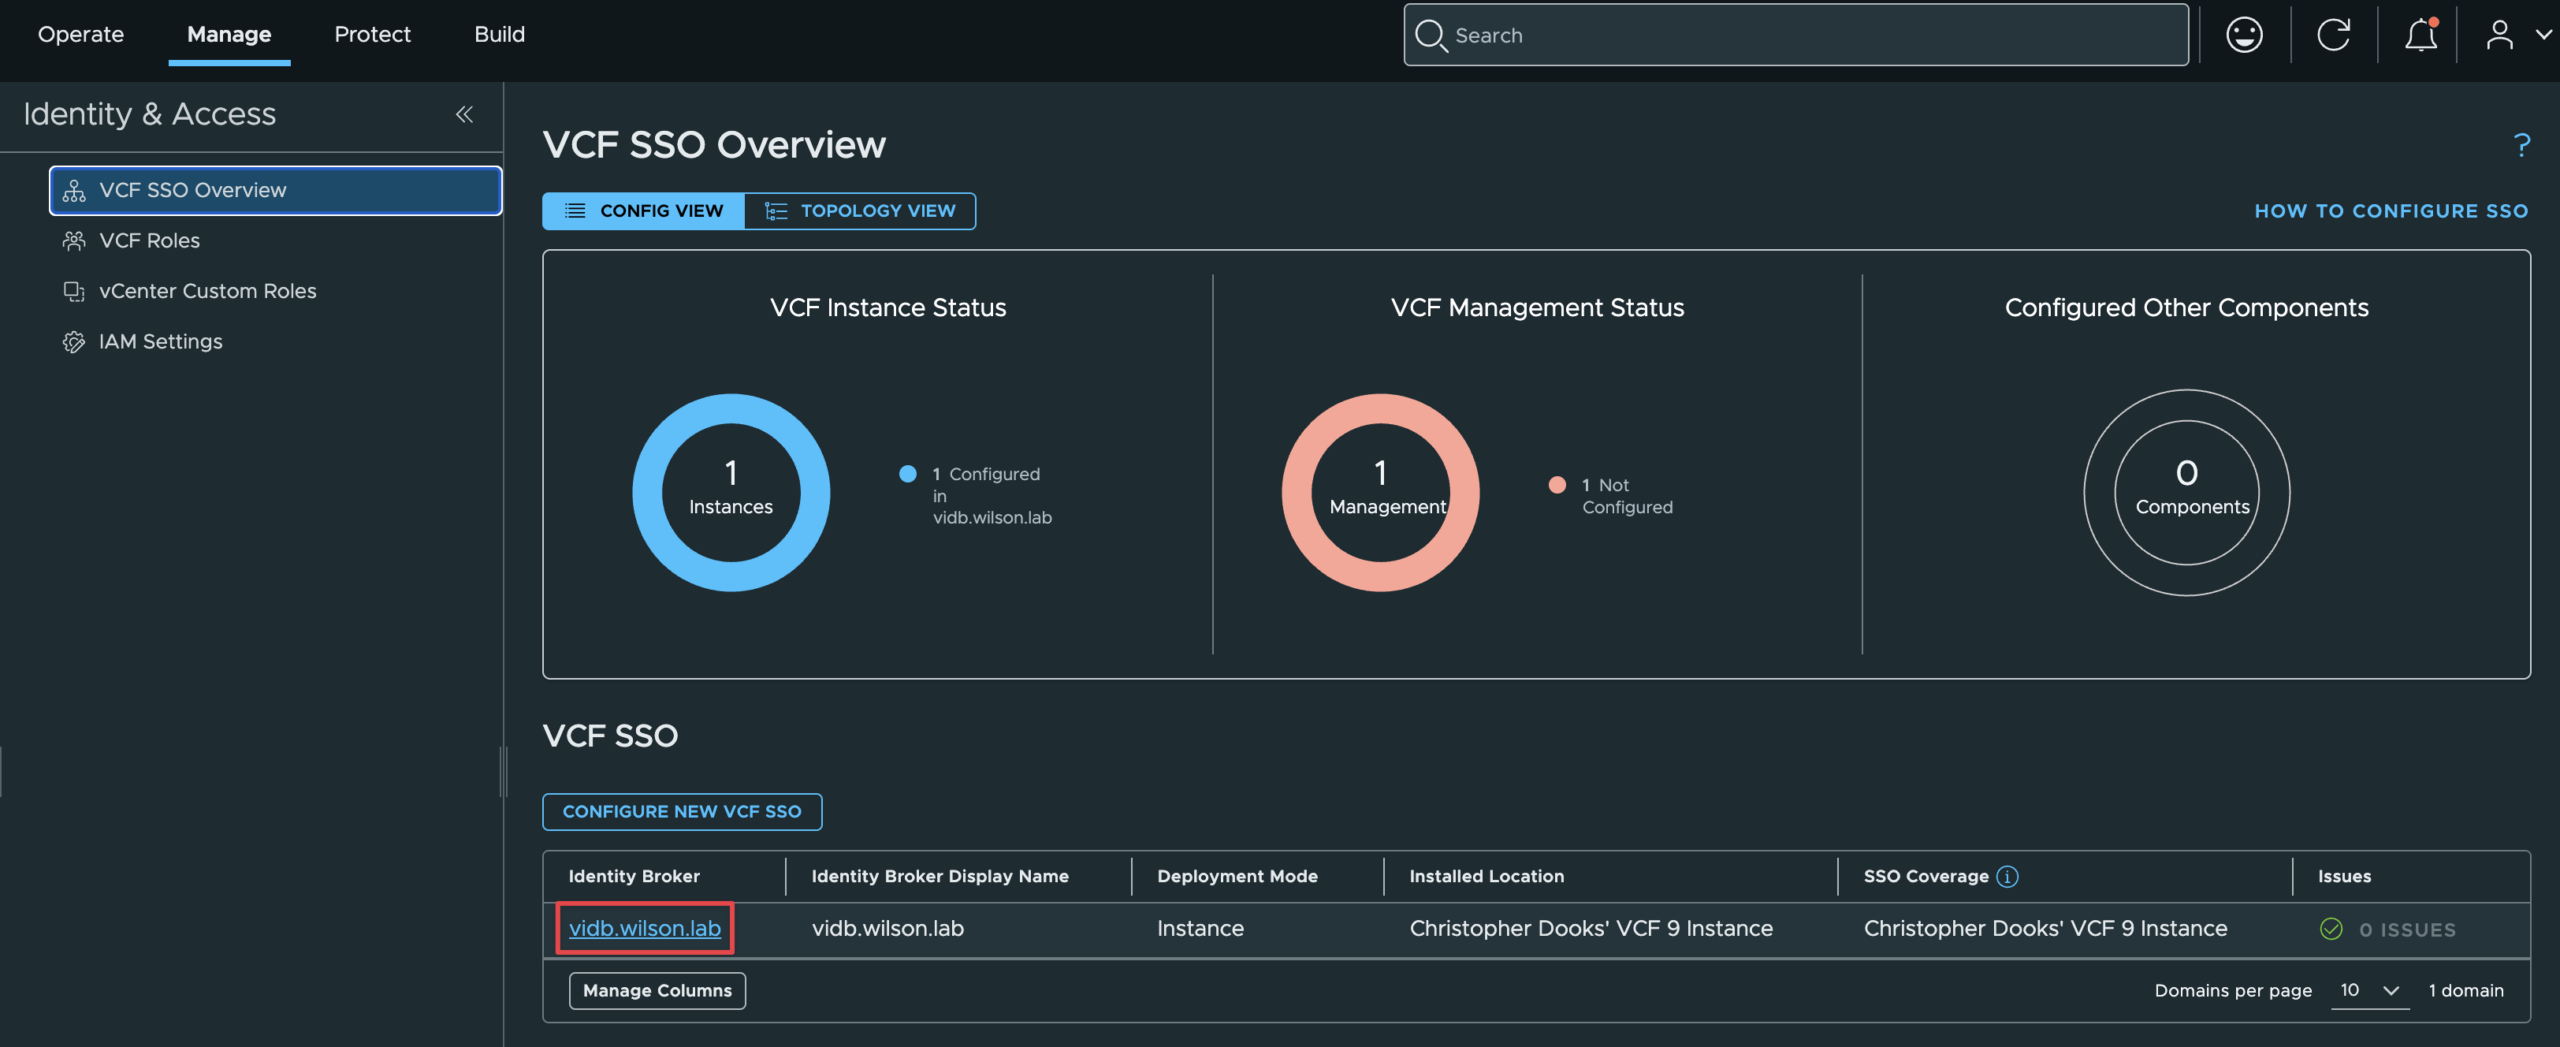
Log into VCF Operations, and navigate to Manage > Identity & Access > VCF Overview > Configure SSO
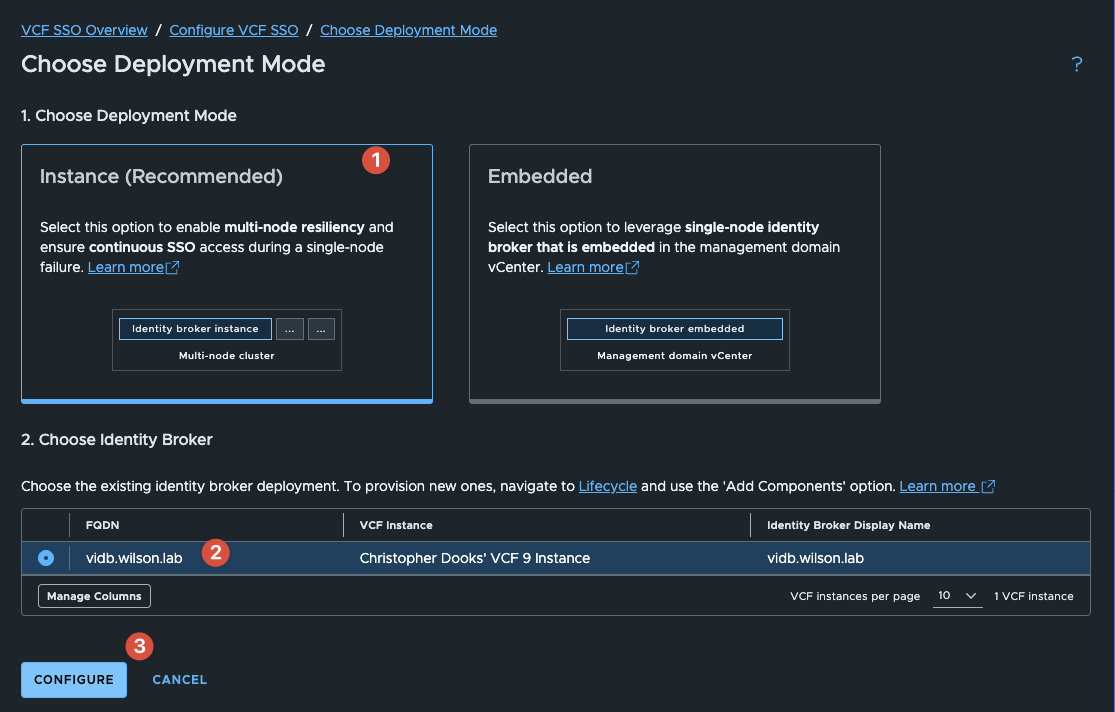
Choose your deployment mode. Here I will be using Instance, which is recommended and configured by default in VCF 9.1.
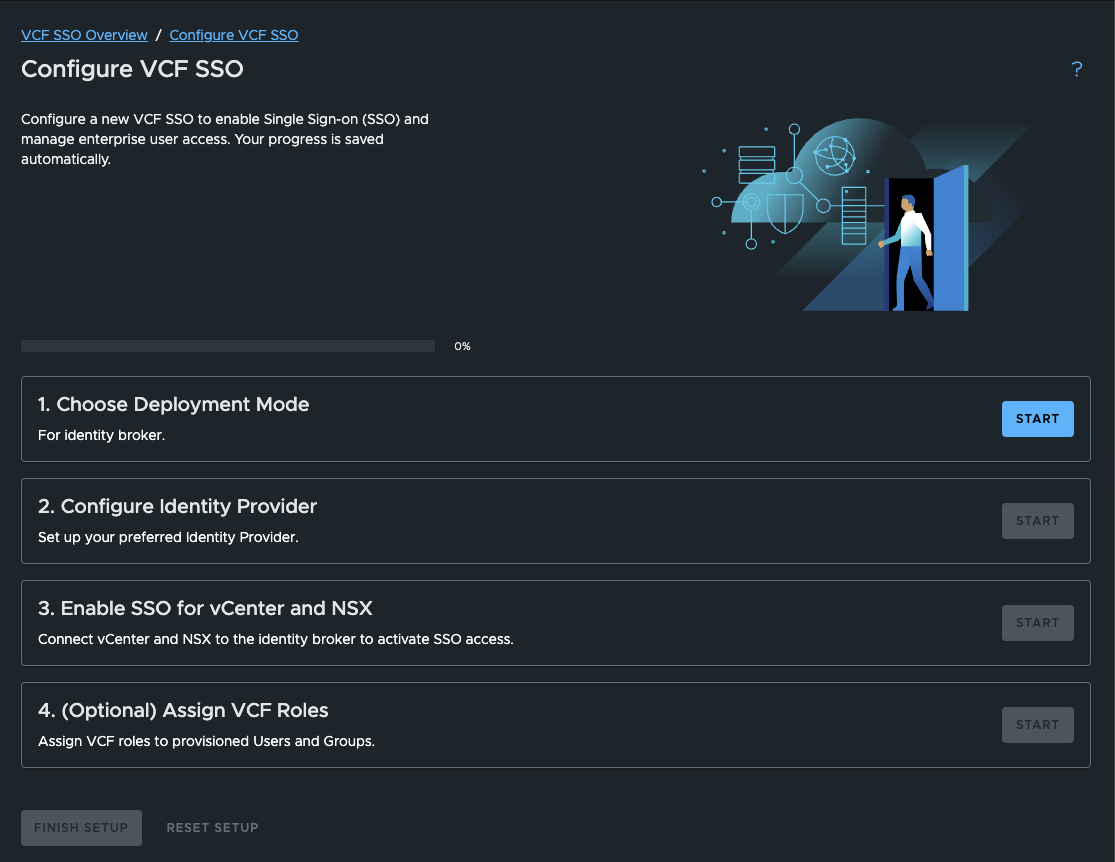
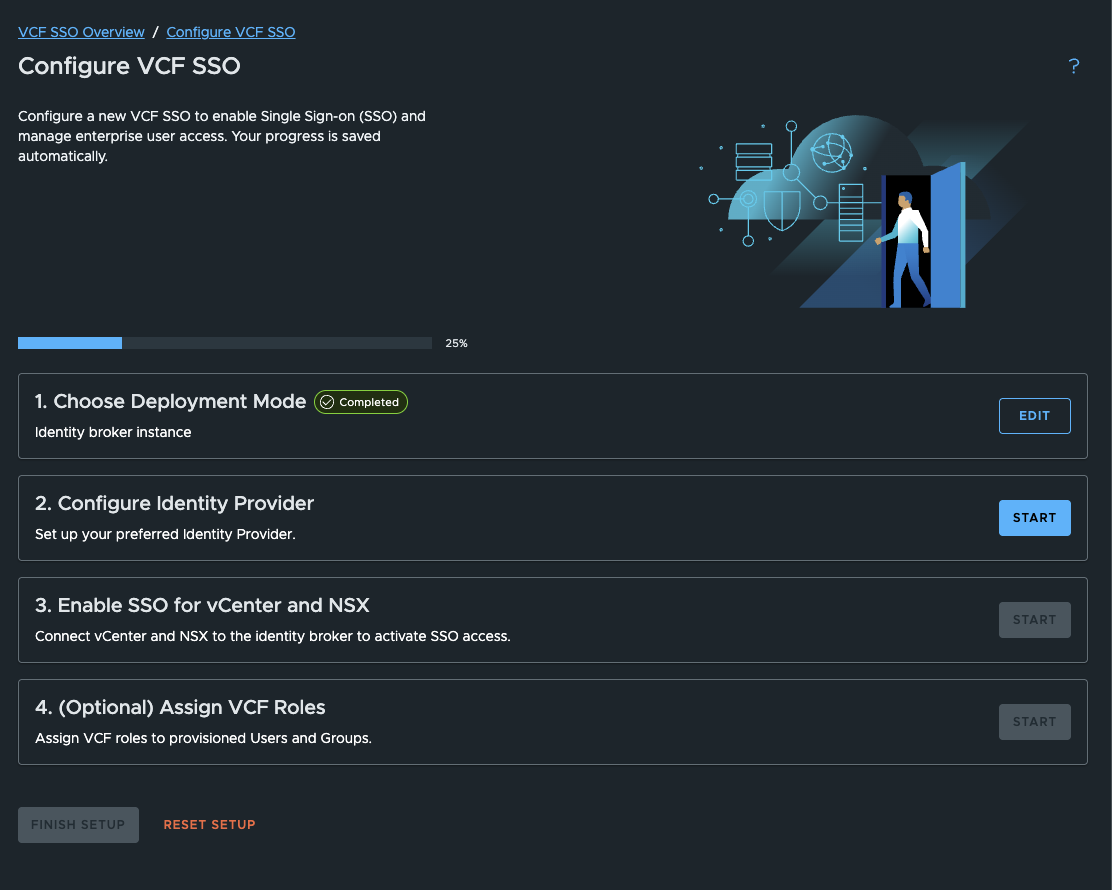
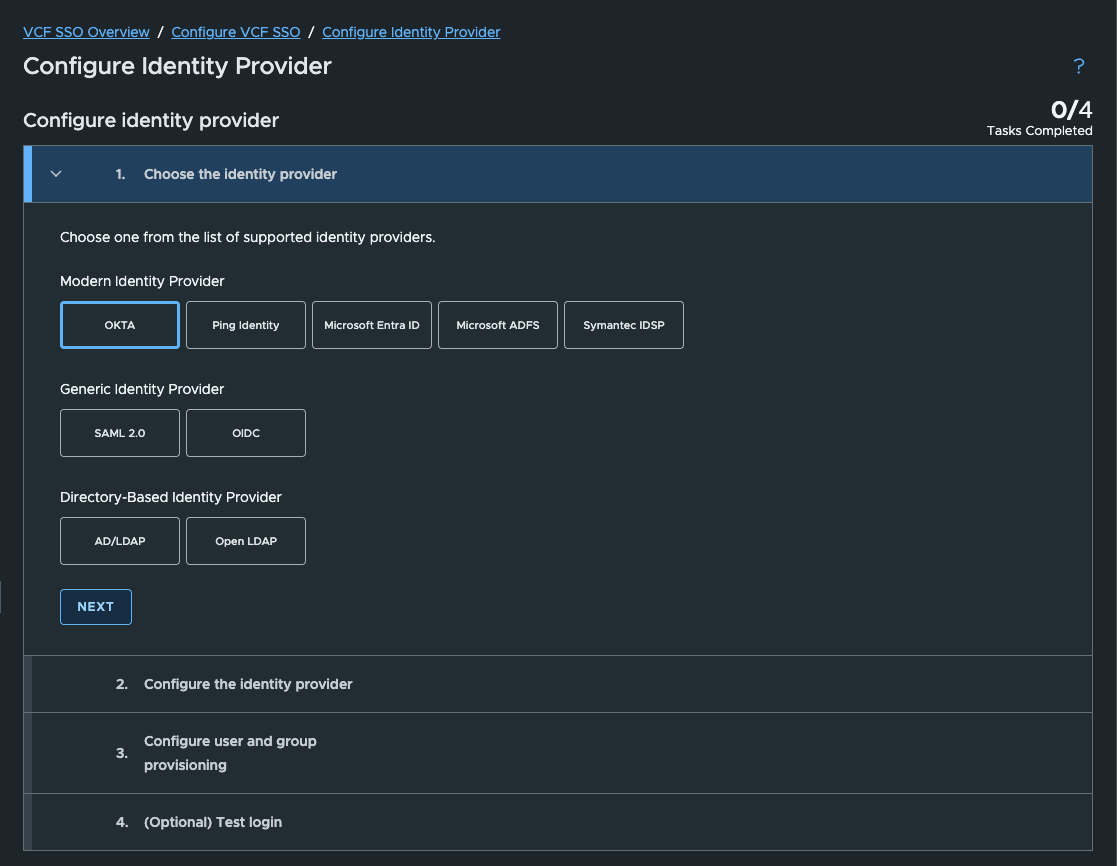
Next, proceed to Configure Identity provider
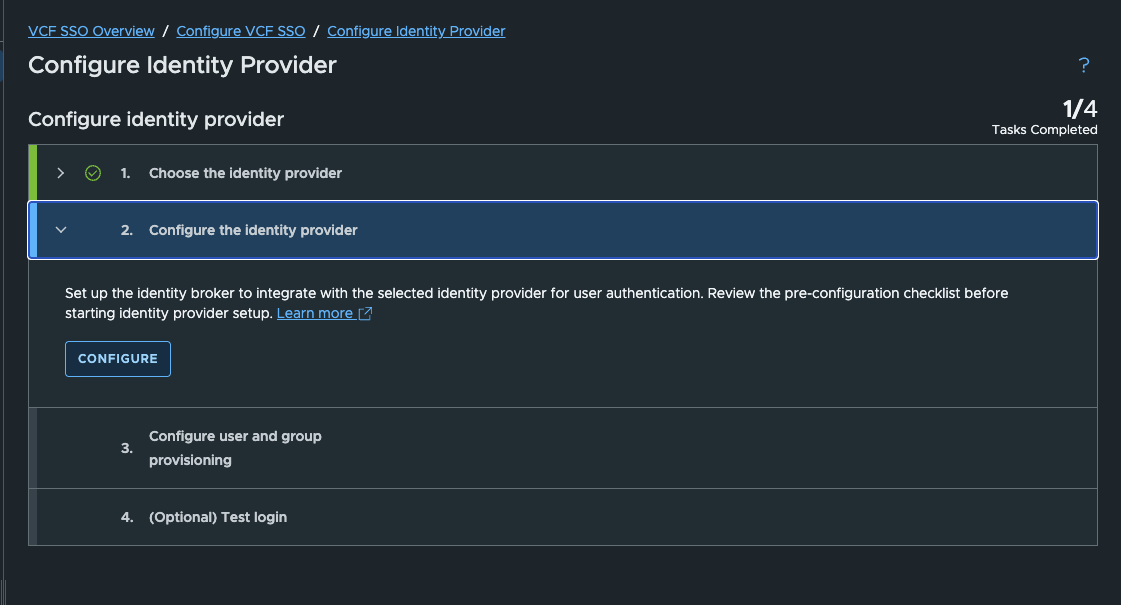
Select Okta, Next, then Configure
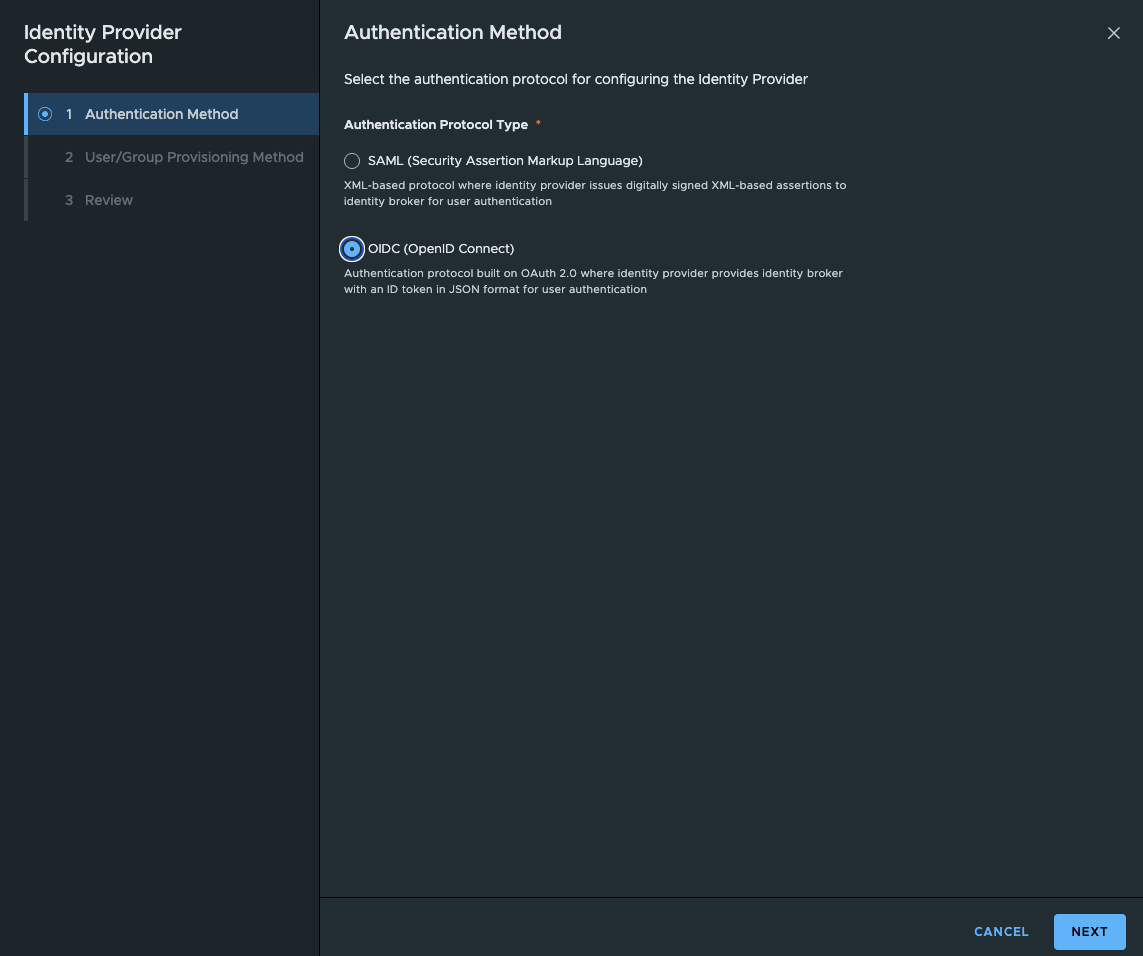
For Authentication Method, choose OIDC and press Next
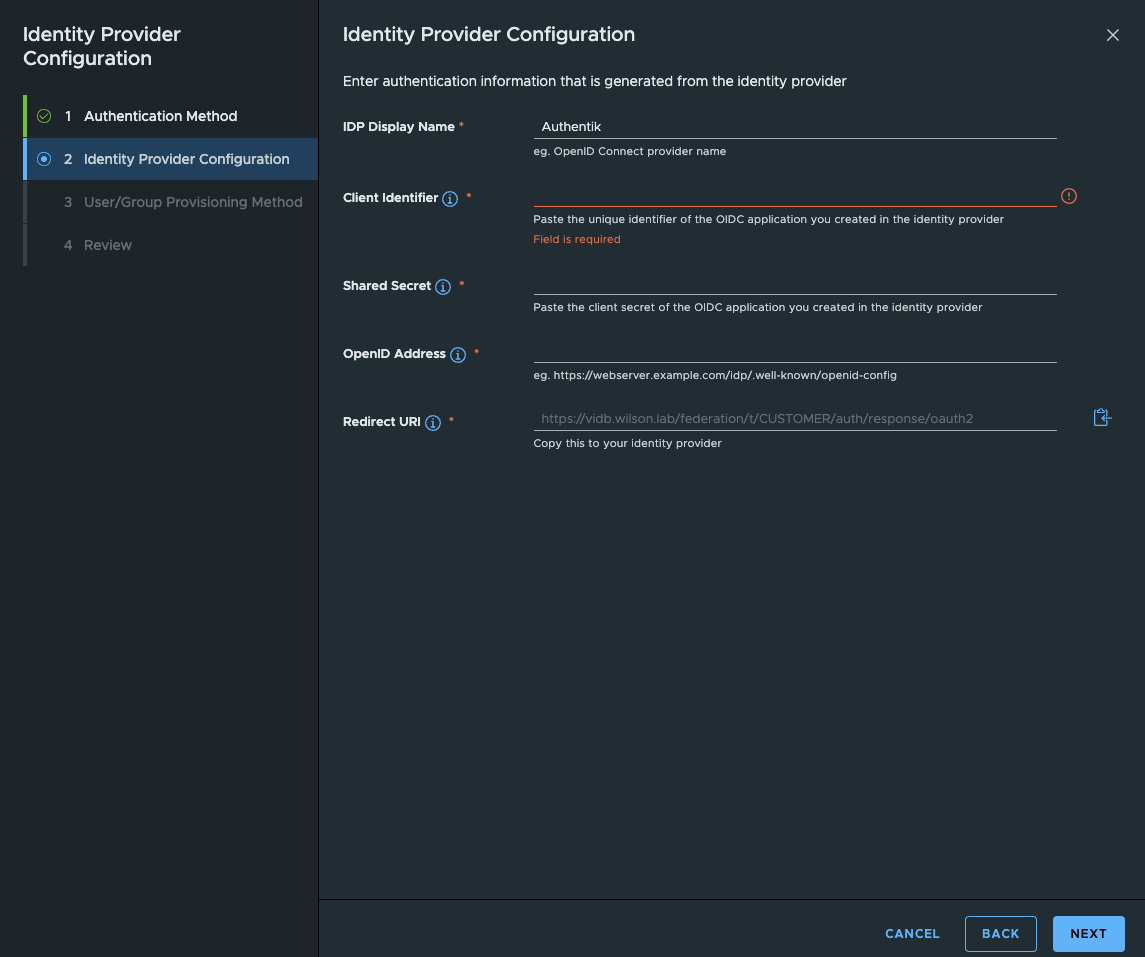
On the next screen, you need to copy the Redirect URI to clipboard, we’ll use this shortly in Authentik.
Step 2: Create the Application in Authentik
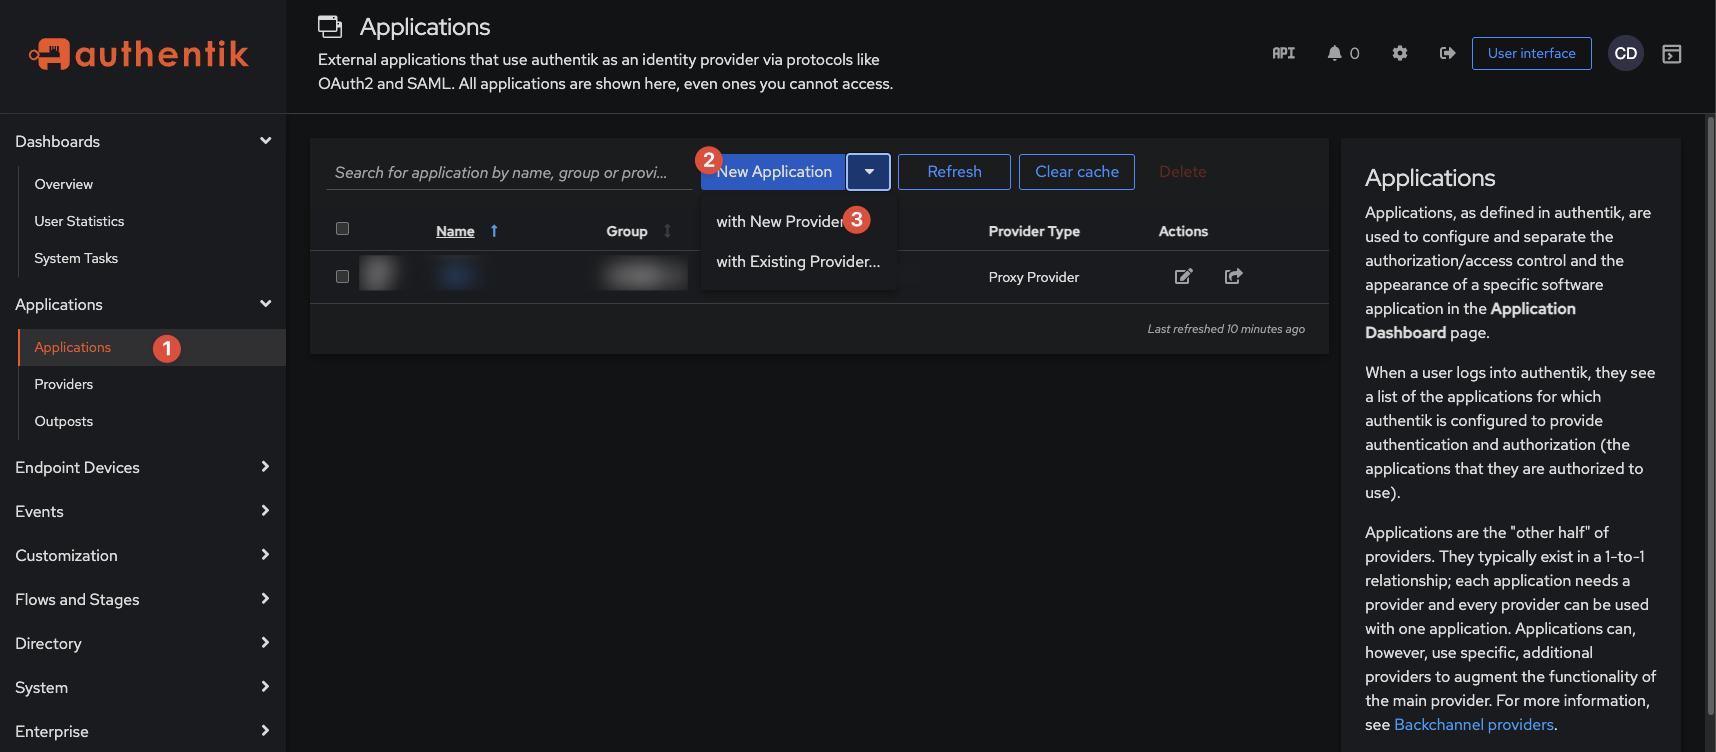
Log into Authentik and go to the Admin interface > Application > New Application with New Provider
Ignore my existing application, it’s not relevant to VCF. You may already have Authentik up and running, but for a fresh install this will be empty.
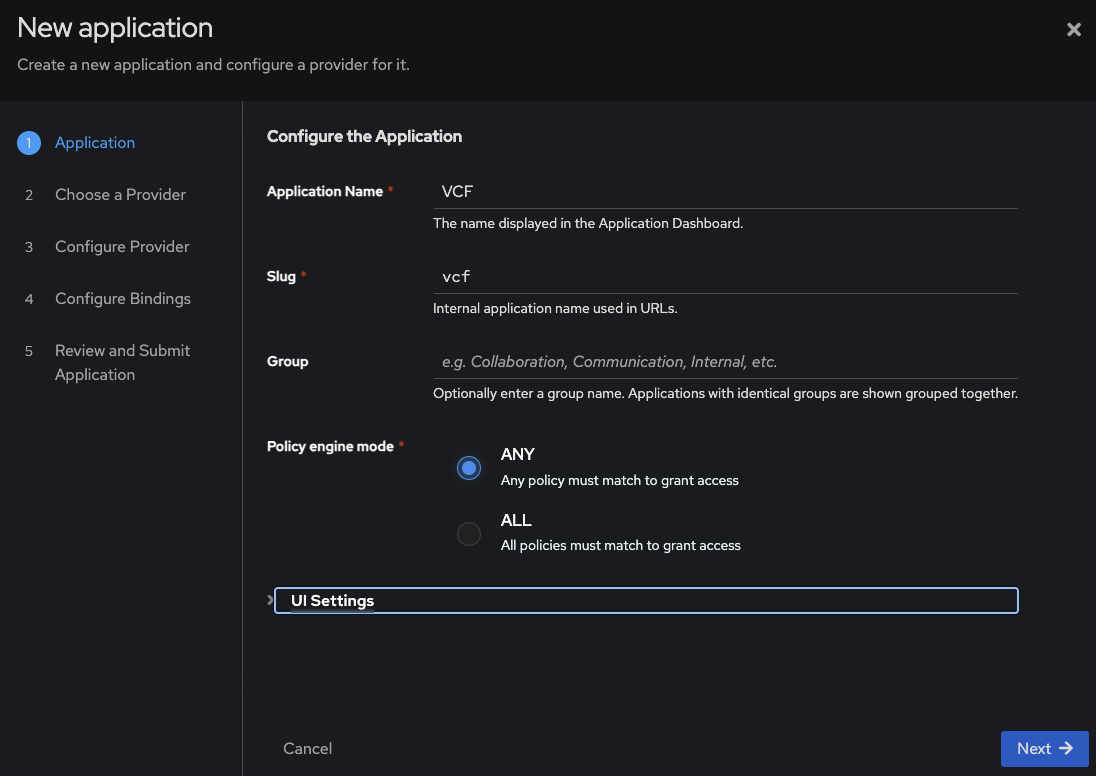
Give it a name and press Next.
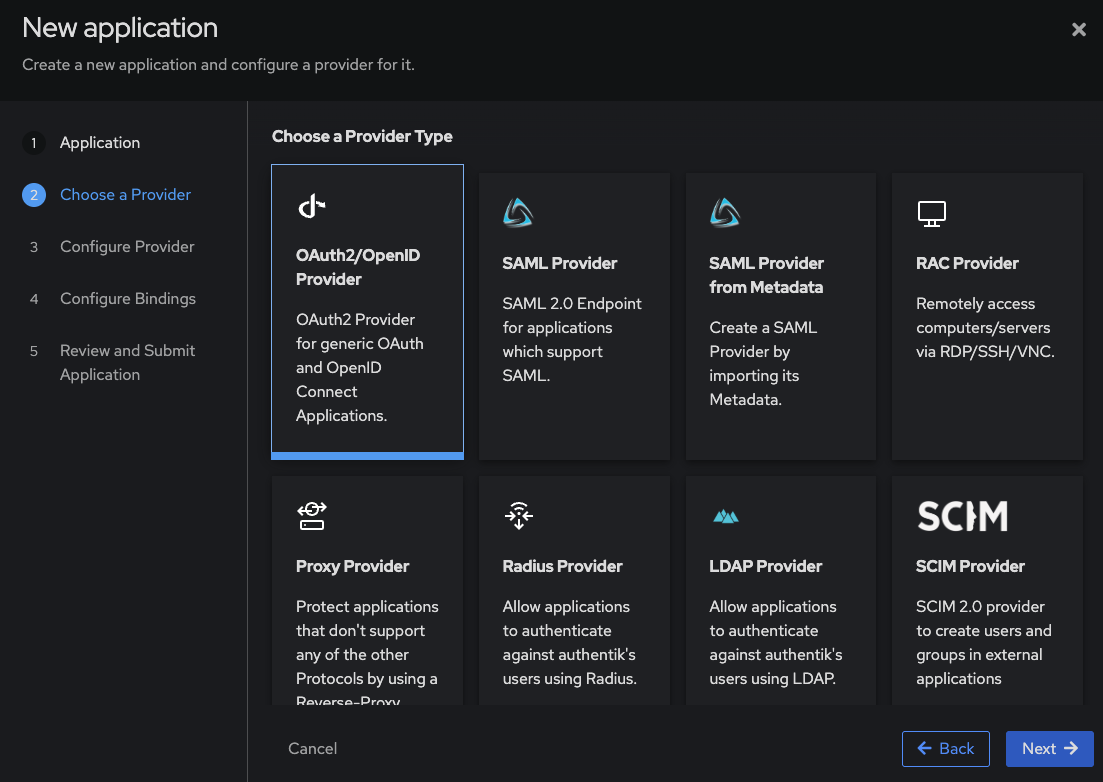
For provider type select OAuth2/OpenID Provider and press Next.
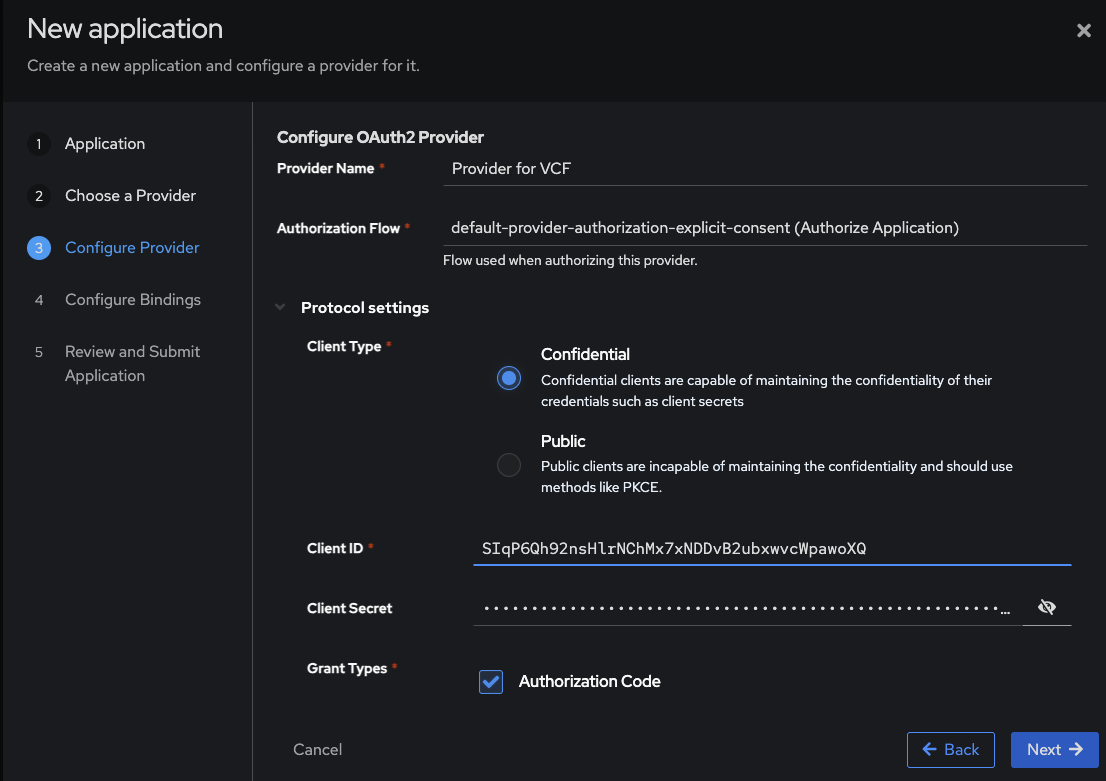
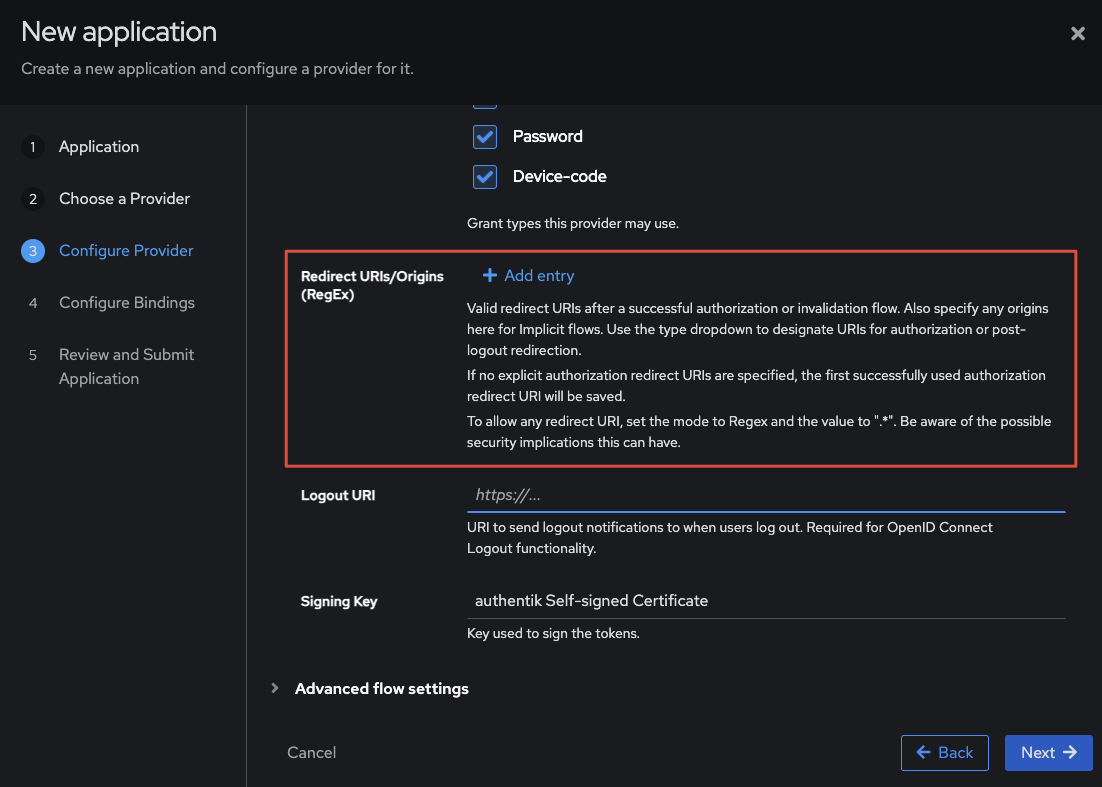
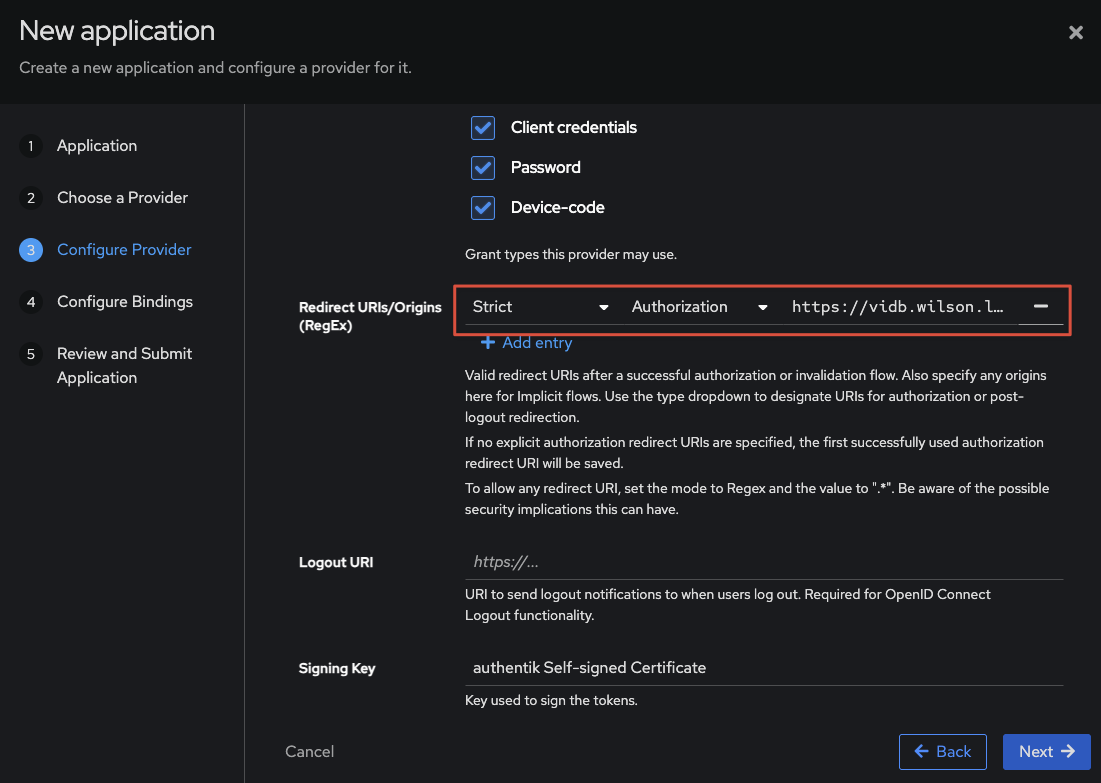
On the next screen, select Explicit Consent for Authorisation Flow, make a note of Client ID and Client Secret. Then scroll down and you’ll see an option to add Redirect URI. Click on add entry, and input the URI copied earlier from the VCF Ops workflow.
Hint – if you forget to copy the Client details here, you can edit the Provider later within the Authentik Admin UI and retrieve them.
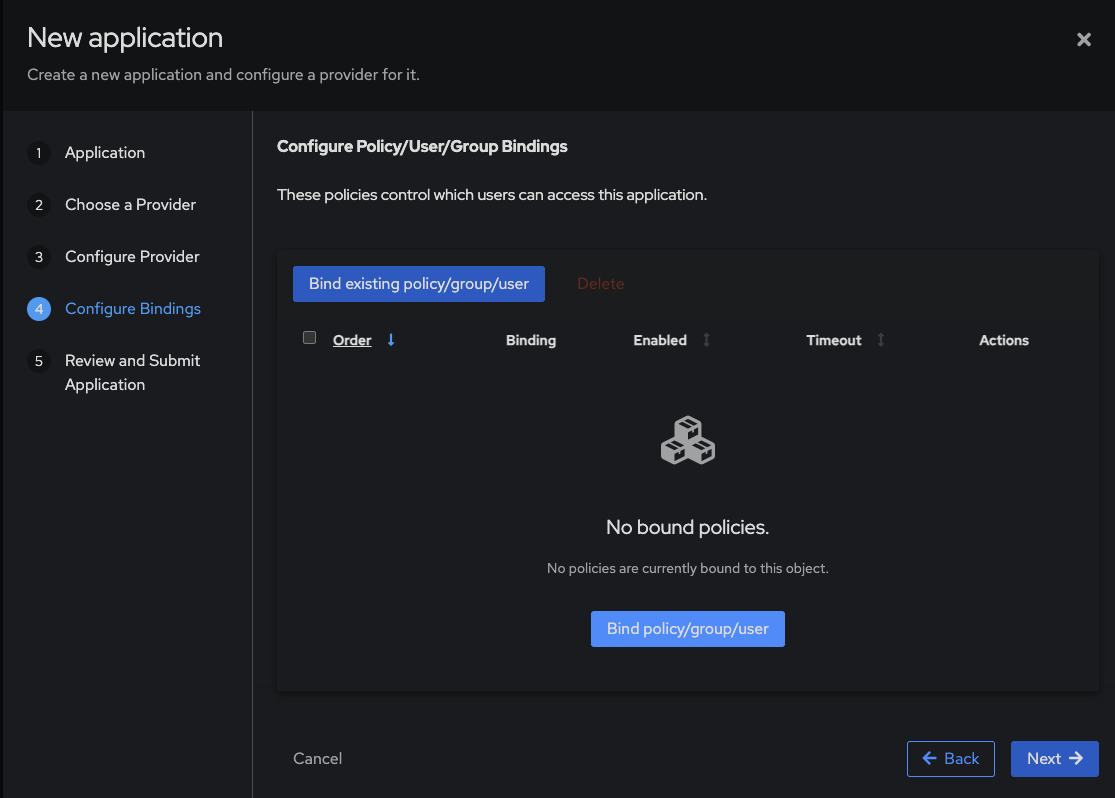
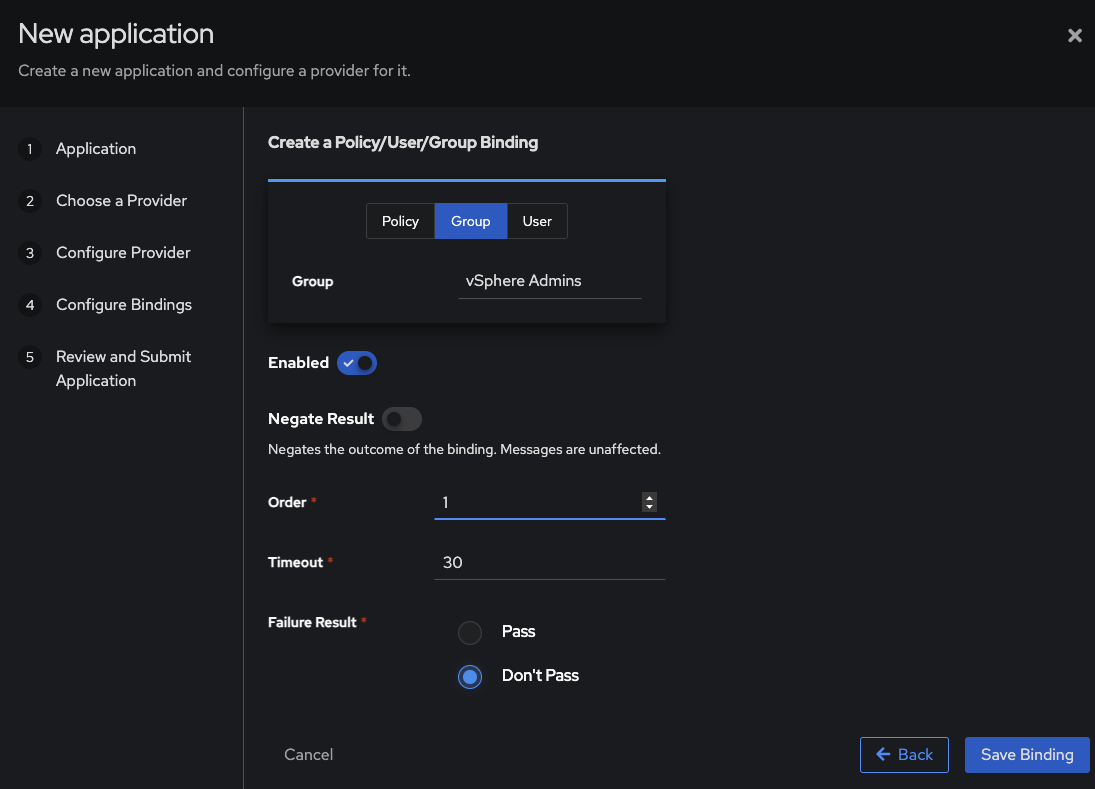
On the next screen you can choose which users within Authentik to bind to the application. I already created a group called vSphere Admins, and in this group is my admin user for my lab. How you do this is up to you, you have the option of users, groups etc and each setup and design differs.
Once done, follow the UI until it’s complete – there’s no requirement to make any further changes.
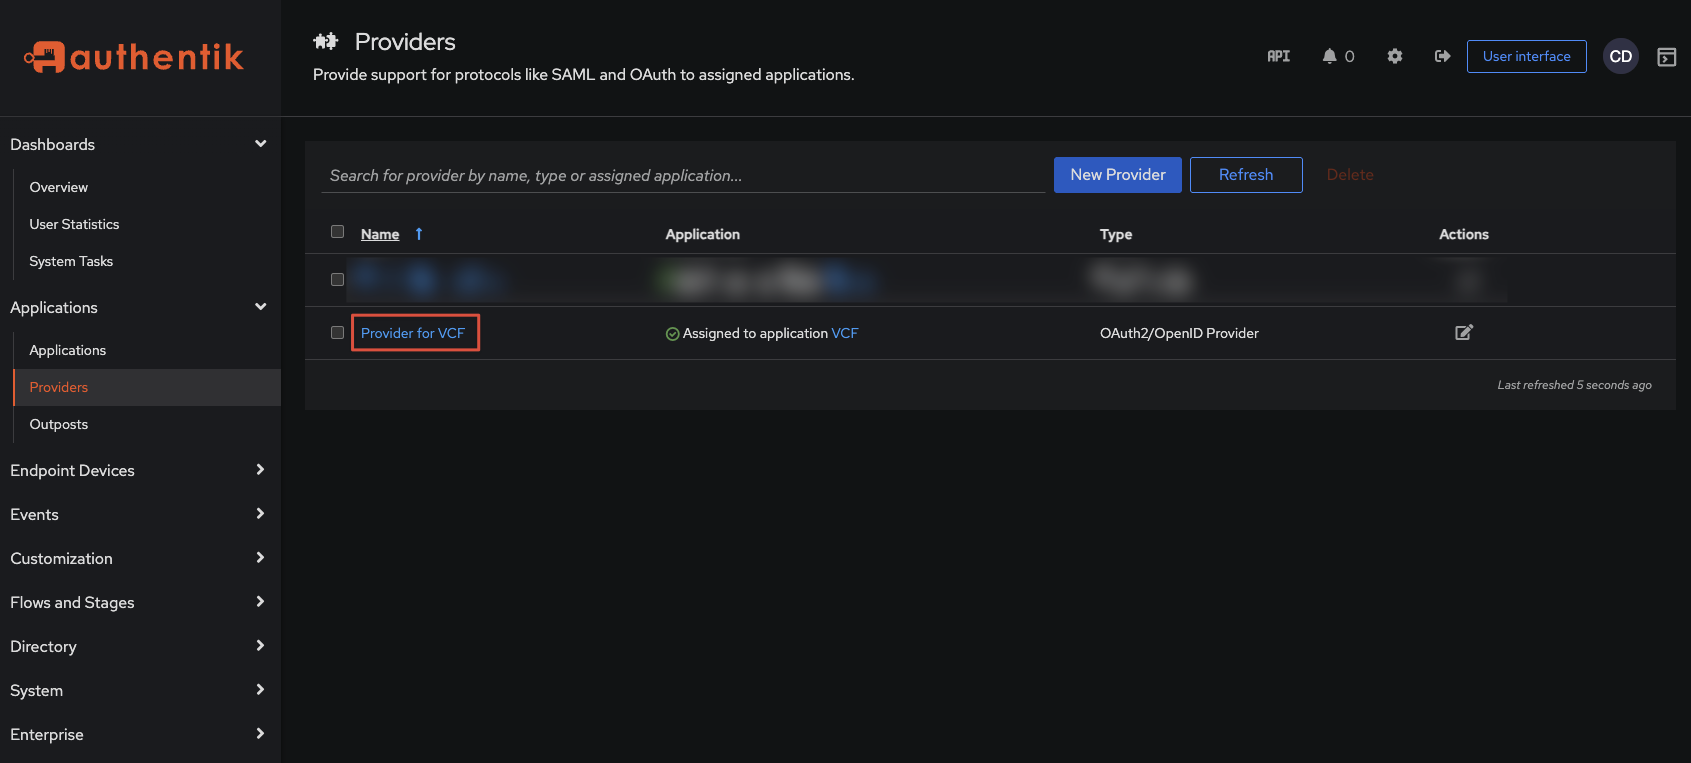
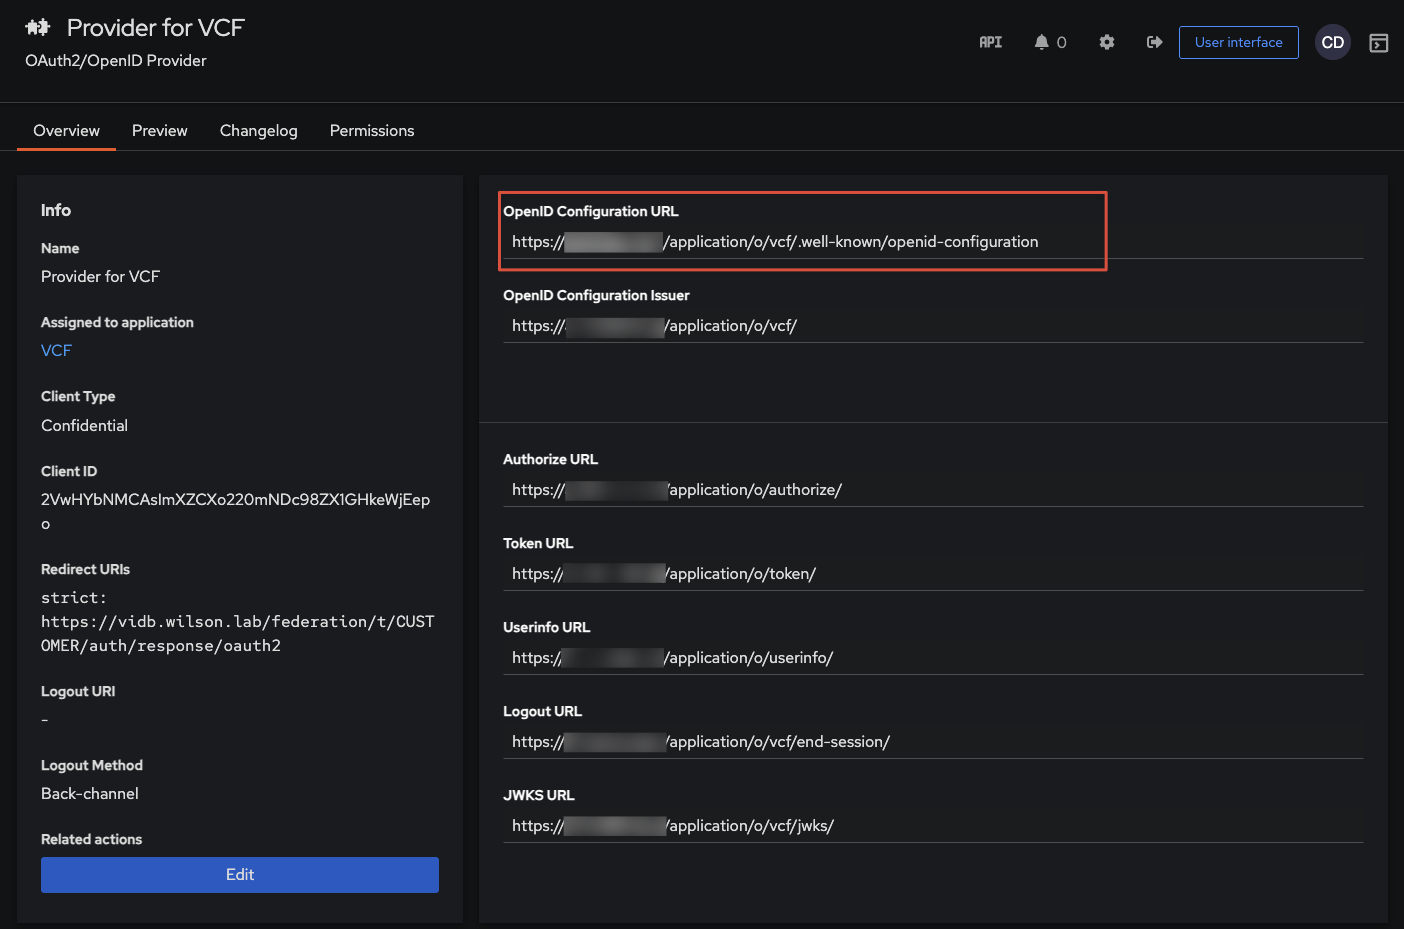
Now click on the provider, and you should be able to see its details, including important URLs we need to input into the VCF Ops UI. Copy the OpenID Configuration URL, it should look something like https://authentik.homelab.domain/application/o/vcf/.well-known/openid-configuration
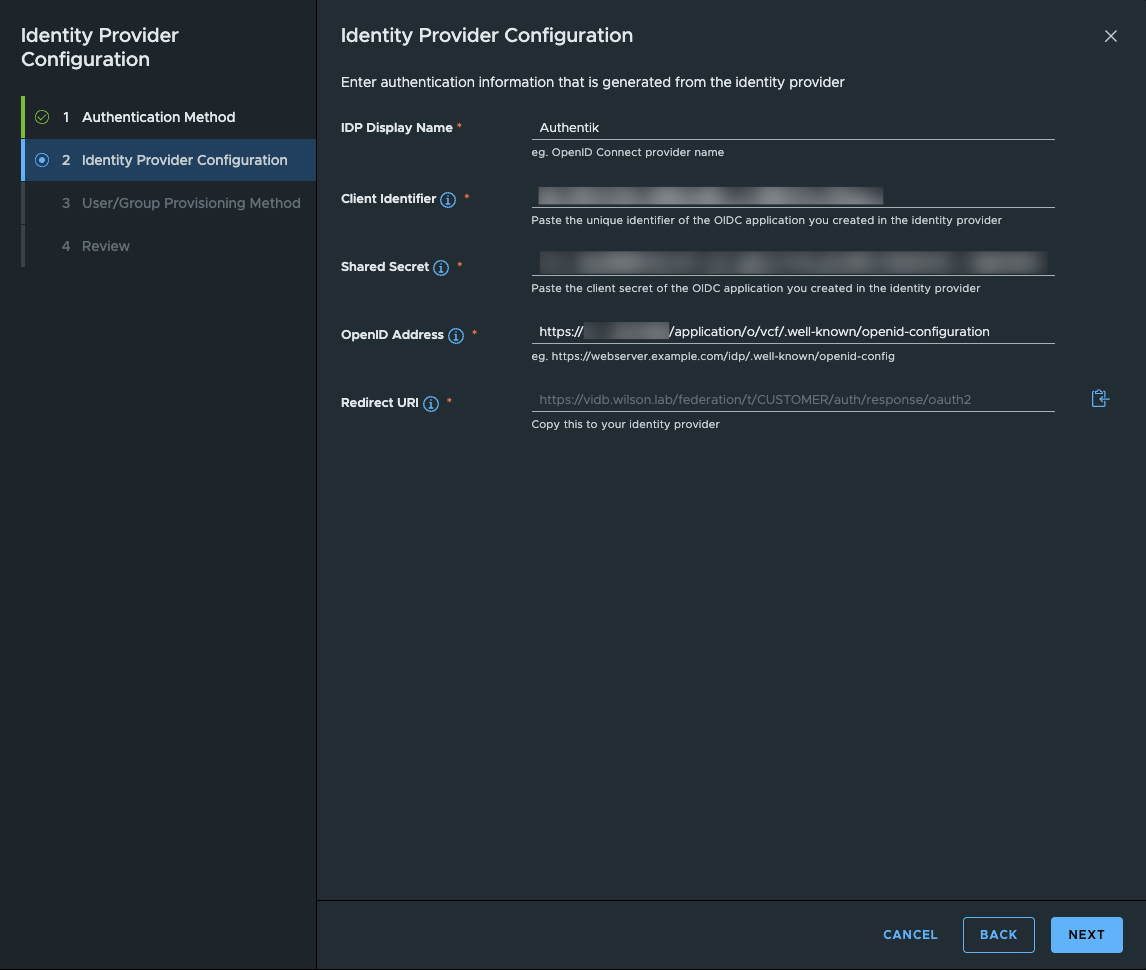
Now head back to VCF Ops and input the required details you’ve noted down.
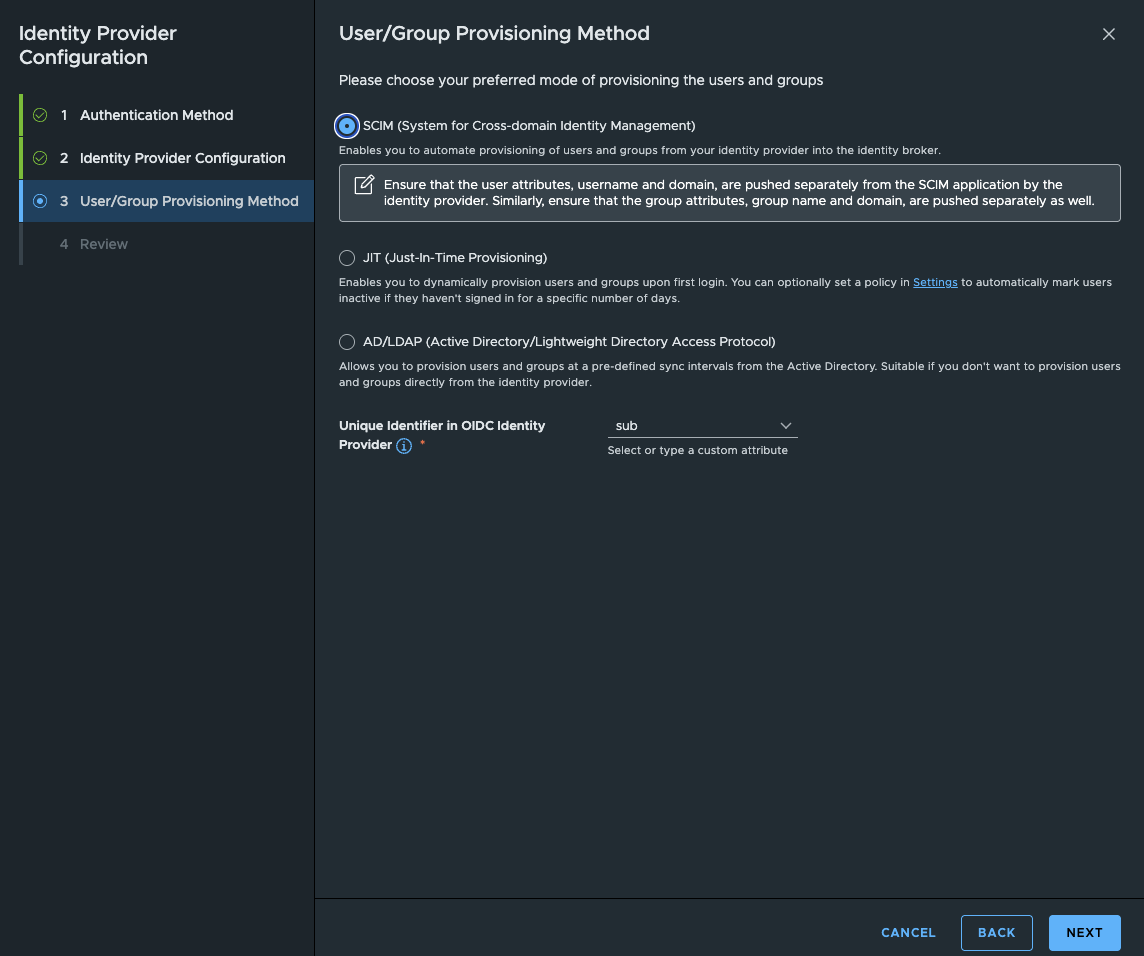
Step 3: Configure SCIM Provisioning
On the next screen, choose SCIM and once done press next, then enter your Domain Name and then next.
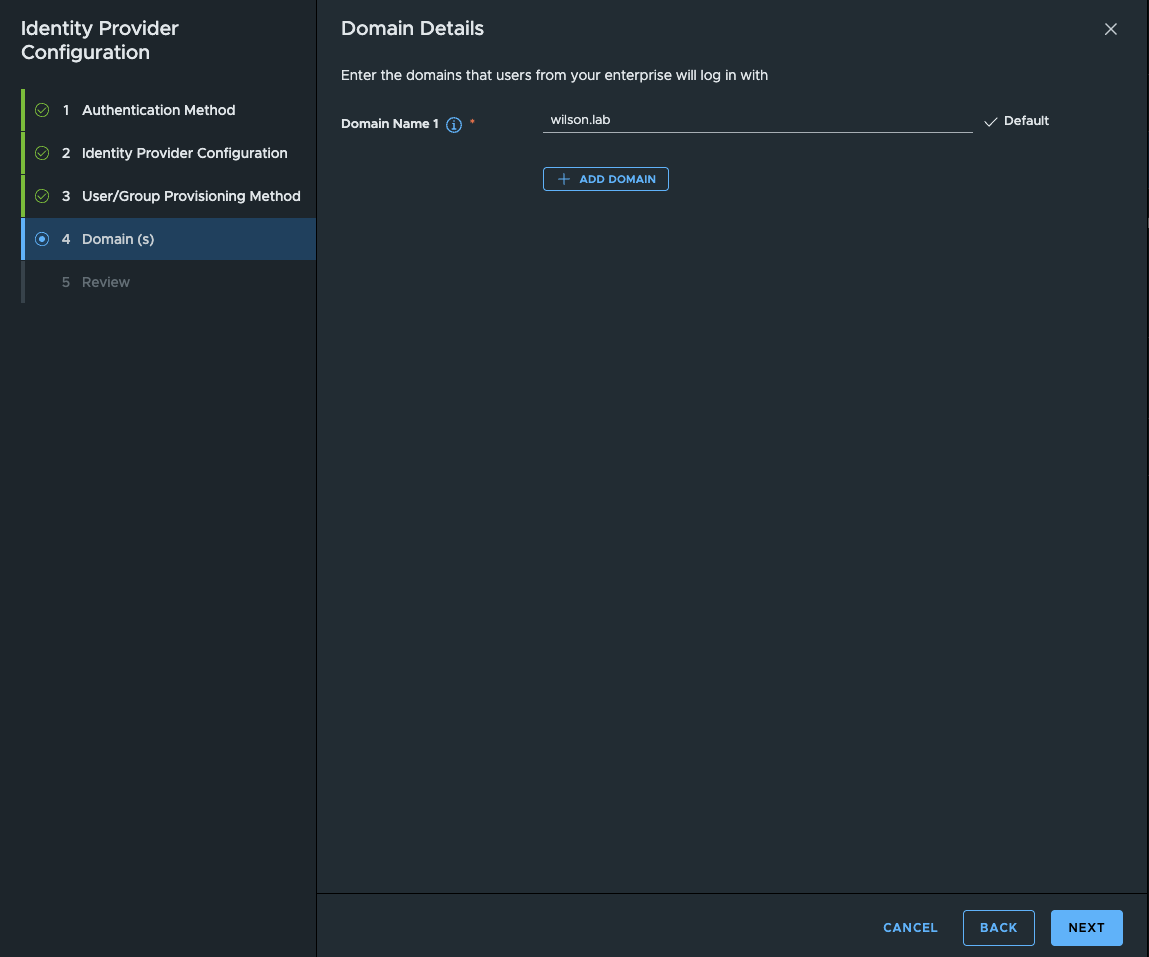
On the Summary screen, verify all details are correct then Finish.
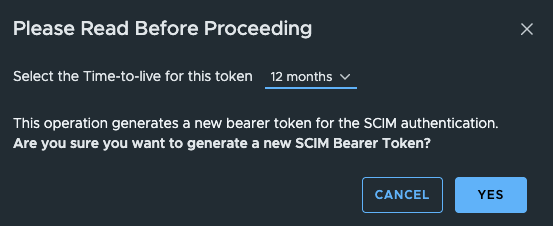
Nearly there, just SCIM to configure. Ignore SCIM Password/Client Secret, and Generate a SCIM Bearer Token. Select 12 months validity because Homelab.
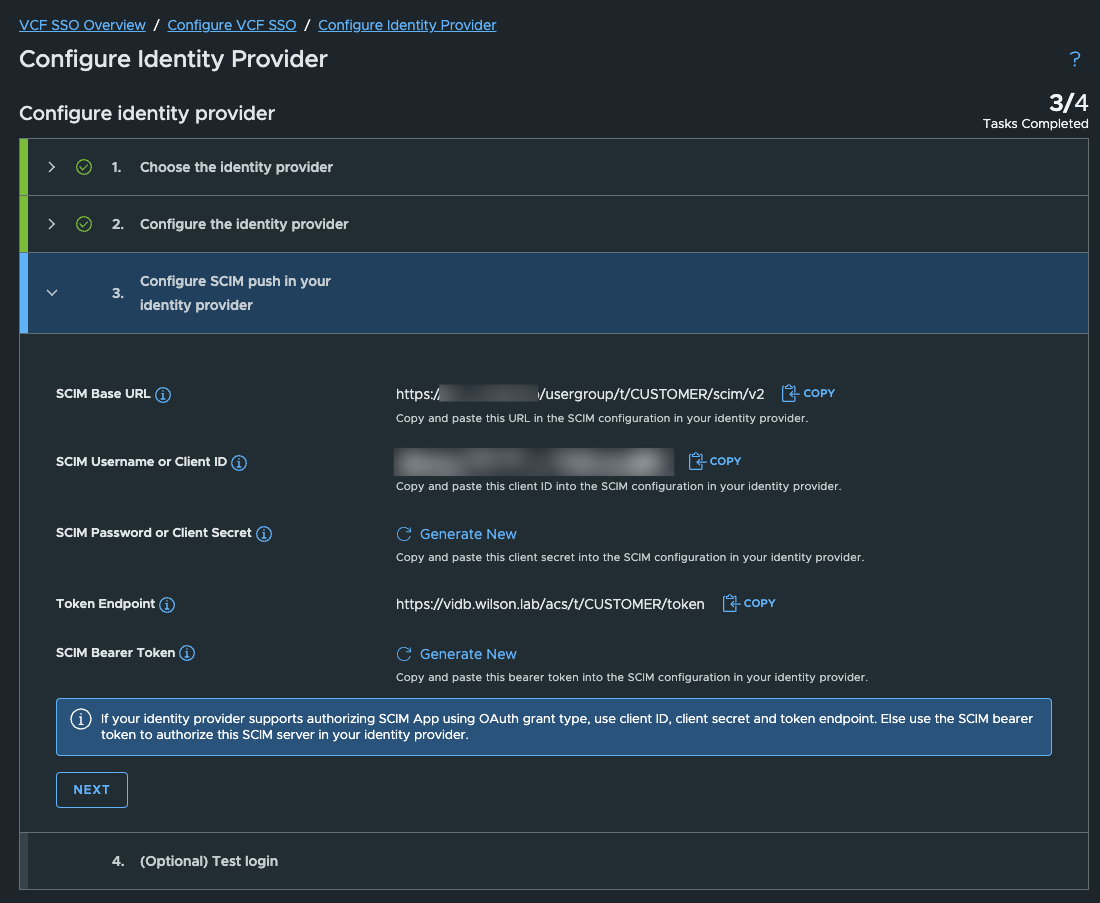
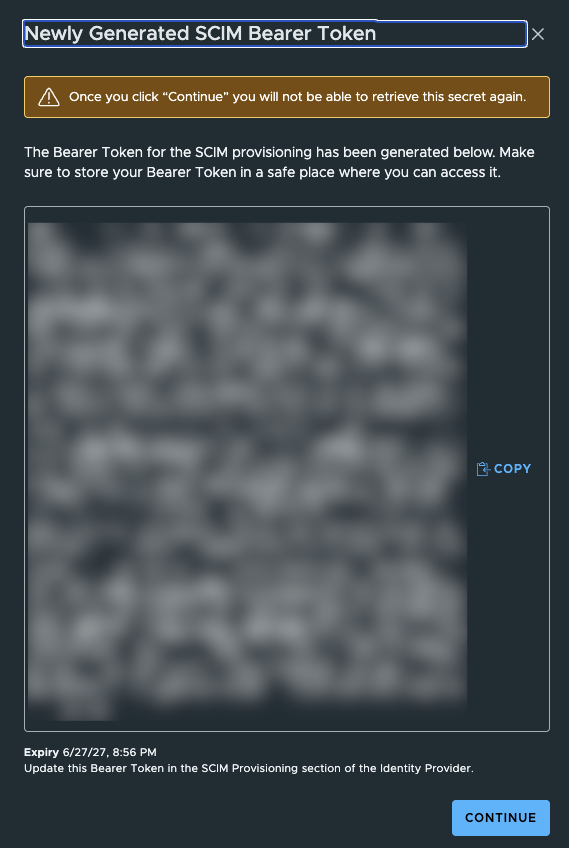
You’ll then be given a fairly lengthy SCIM Token, take a note of this as we need to input it into Authentik shortly.
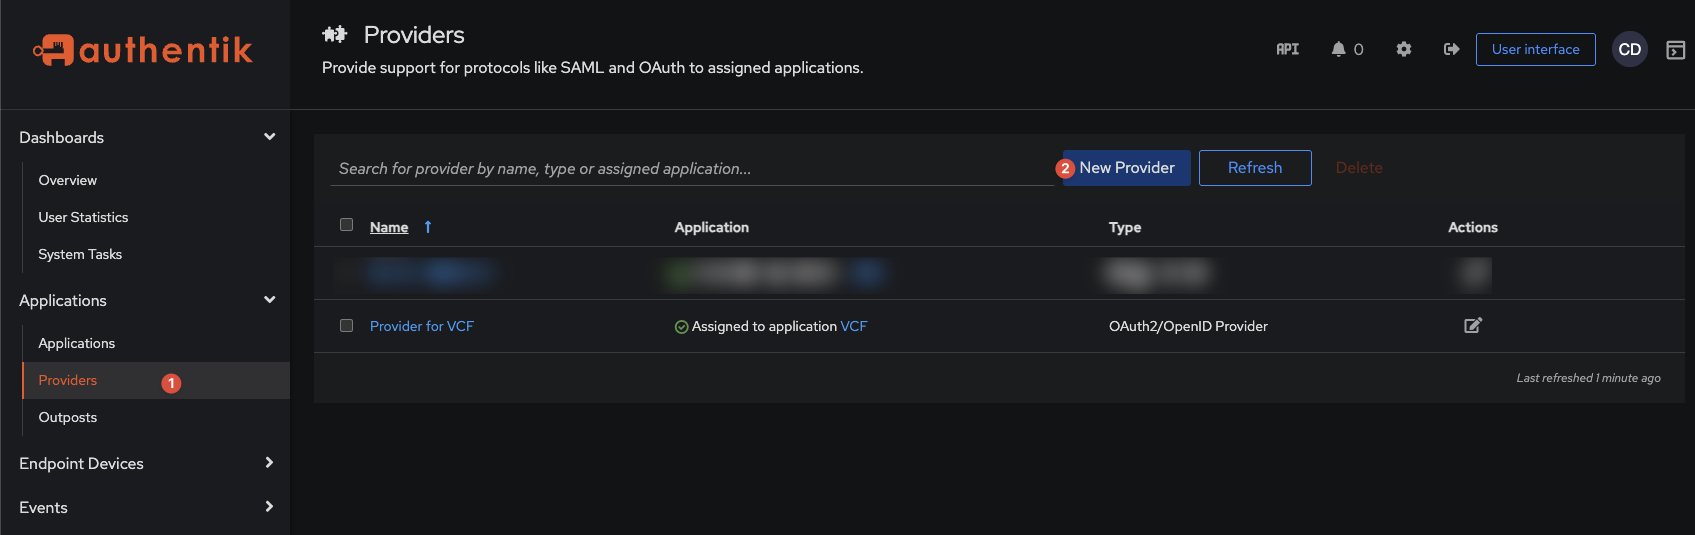
Continue, and select Next. The final stage is to test login, but this won’t work until we finish off some steps. Head back into the Authentik Admin UI > Providers > New Provider.
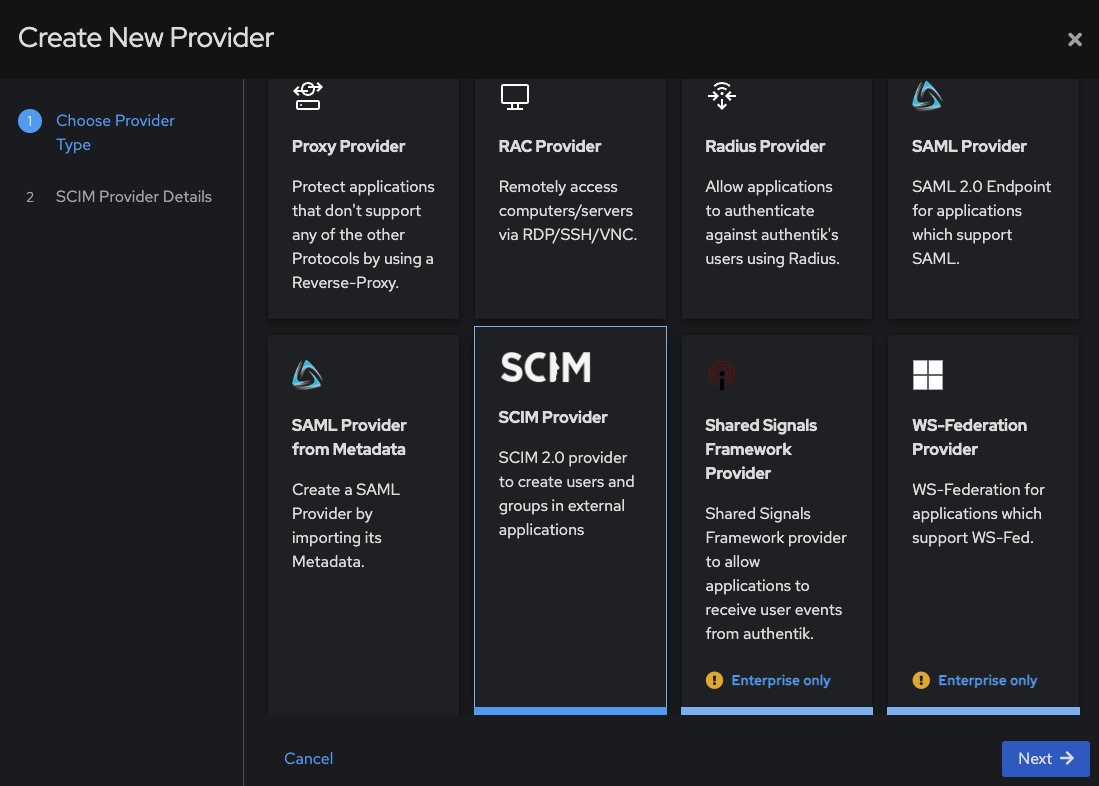
Select SCIM, then Next.
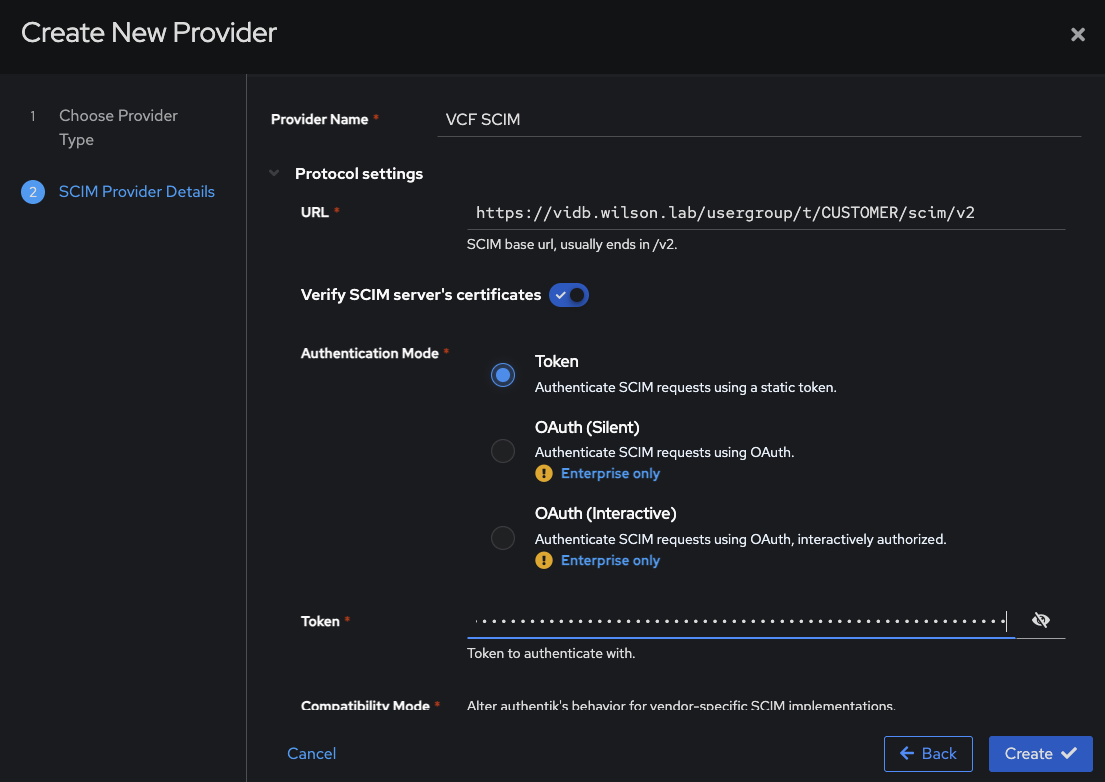
Give it a friendly name, input the SCIM URL & Client Secret from VCF Ops and Create. Note – if you are using self-signed certificates in your lab, then ensure that ‘Verify SCIM server’s certificates’ is disabled.
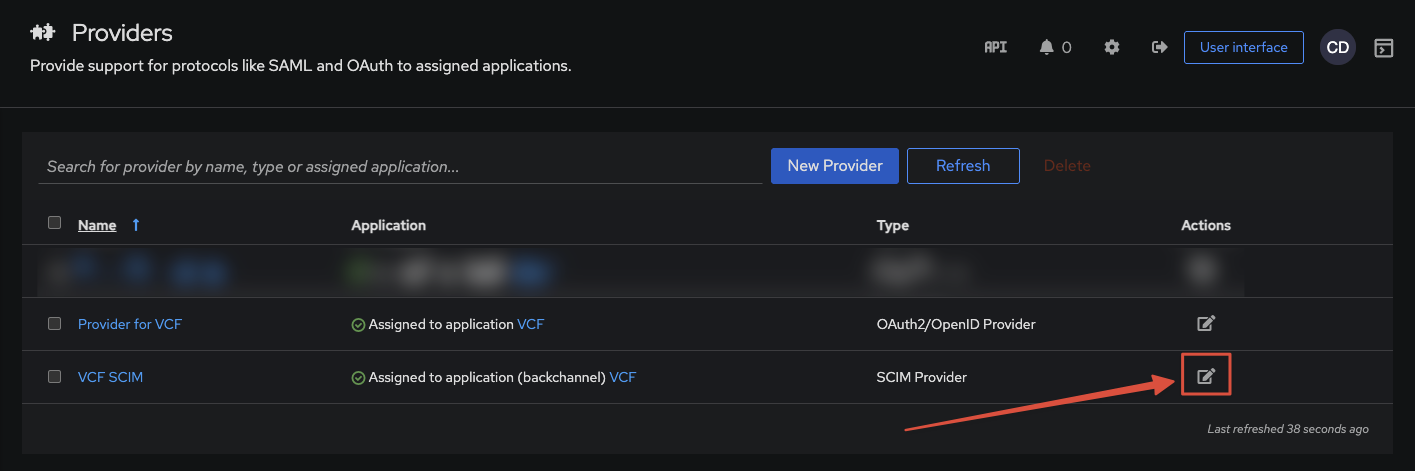
Once created, edit the SCIM Provider.
Scroll down until you get to Group Filter, then add in whatever group you want to synchronise with VIDB.
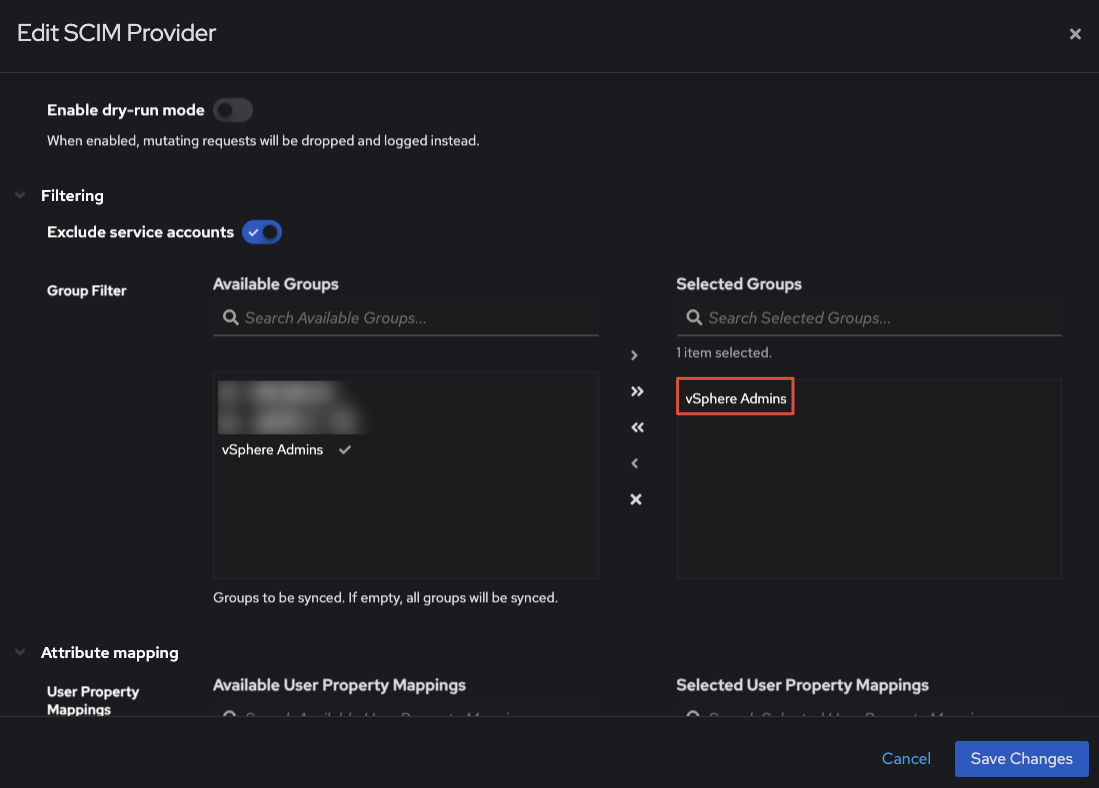
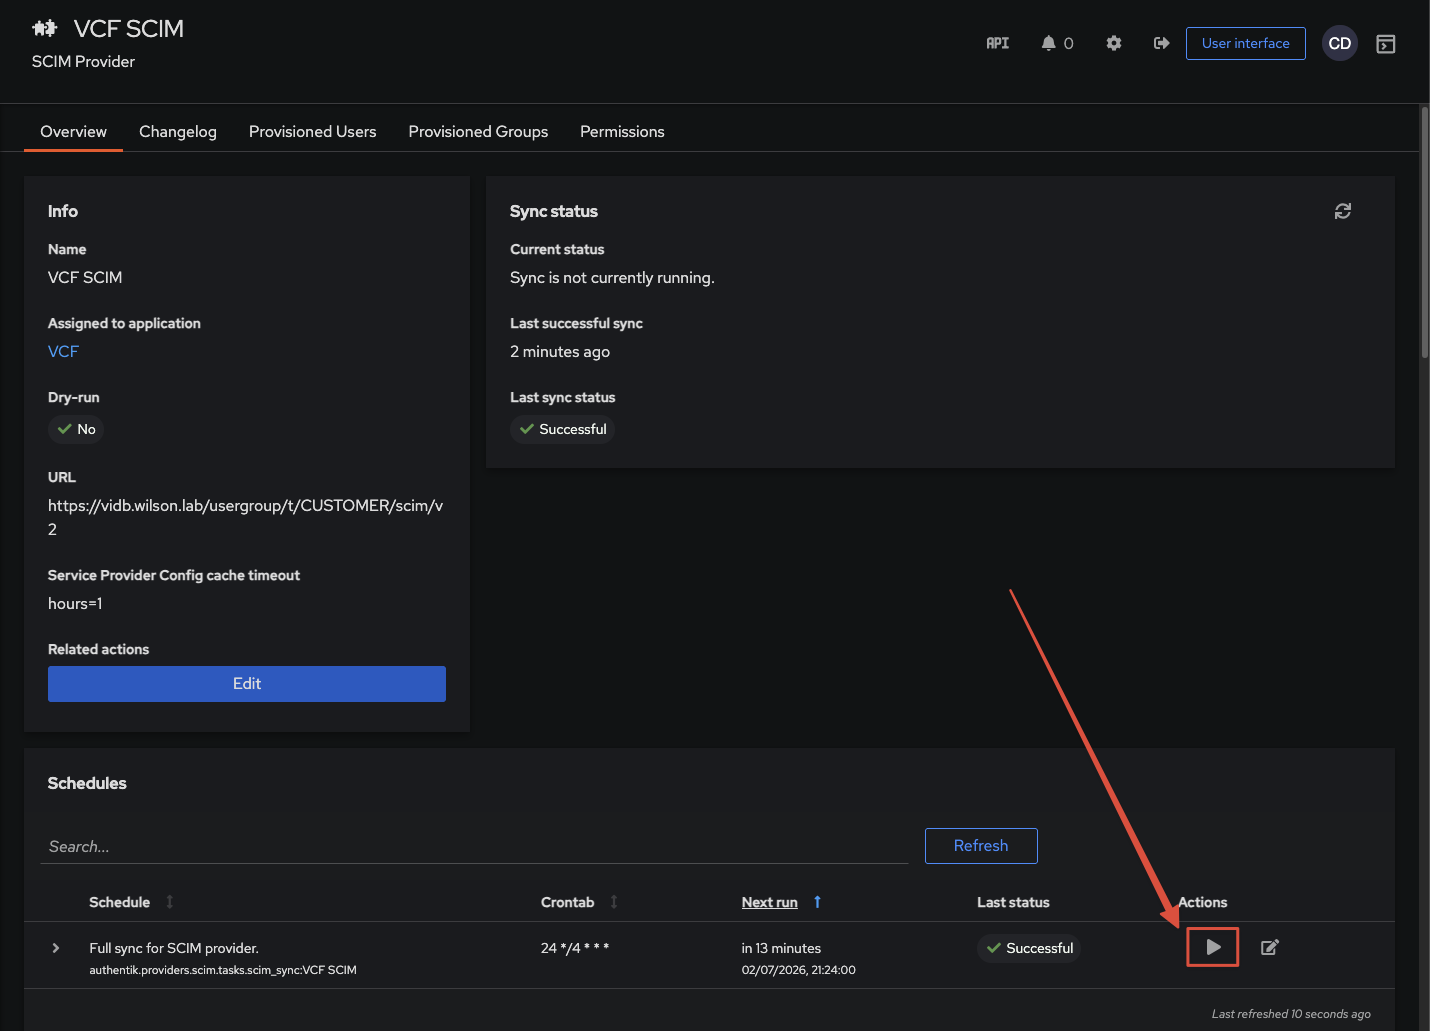
Authentik will synchronise this group on 15 minute intervals out of the box, but you can start a manual sync if you wish. After saving click on the SCIM name, scroll down and press the play button to initiate a sync.
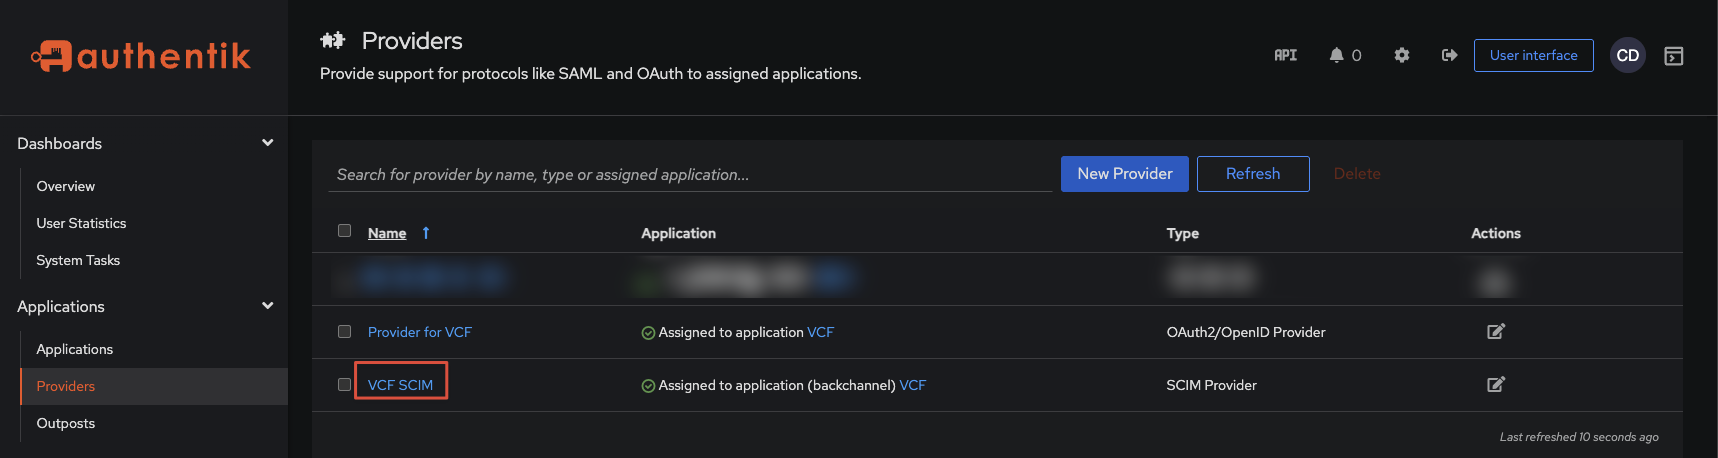
Still within Authentik Admin UI, head to Application then edit the VCF application created earlier.
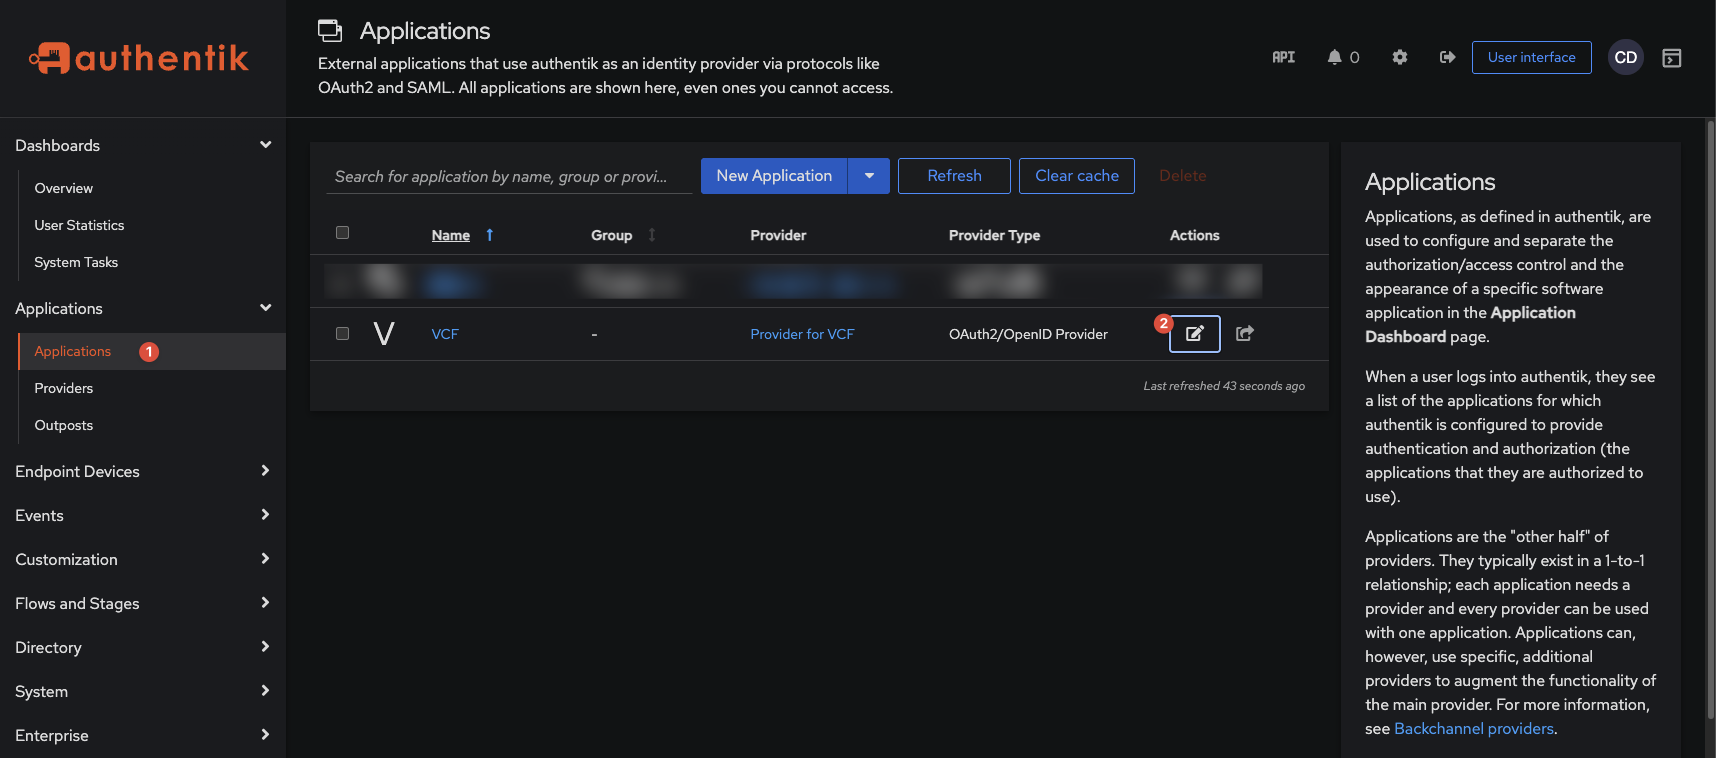
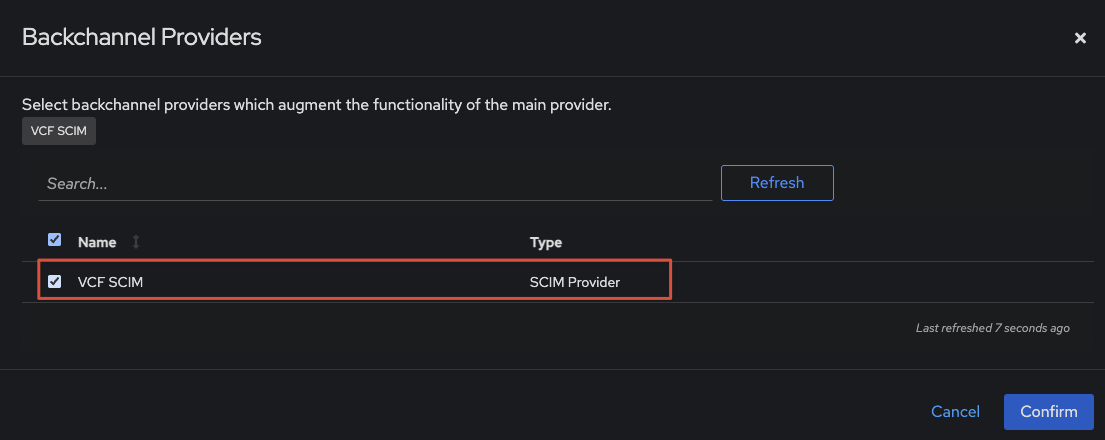
Under Backchannel Providers, click on the ‘+’ button, or in the empty space, then select the VCF SCIM Provider created earlier.

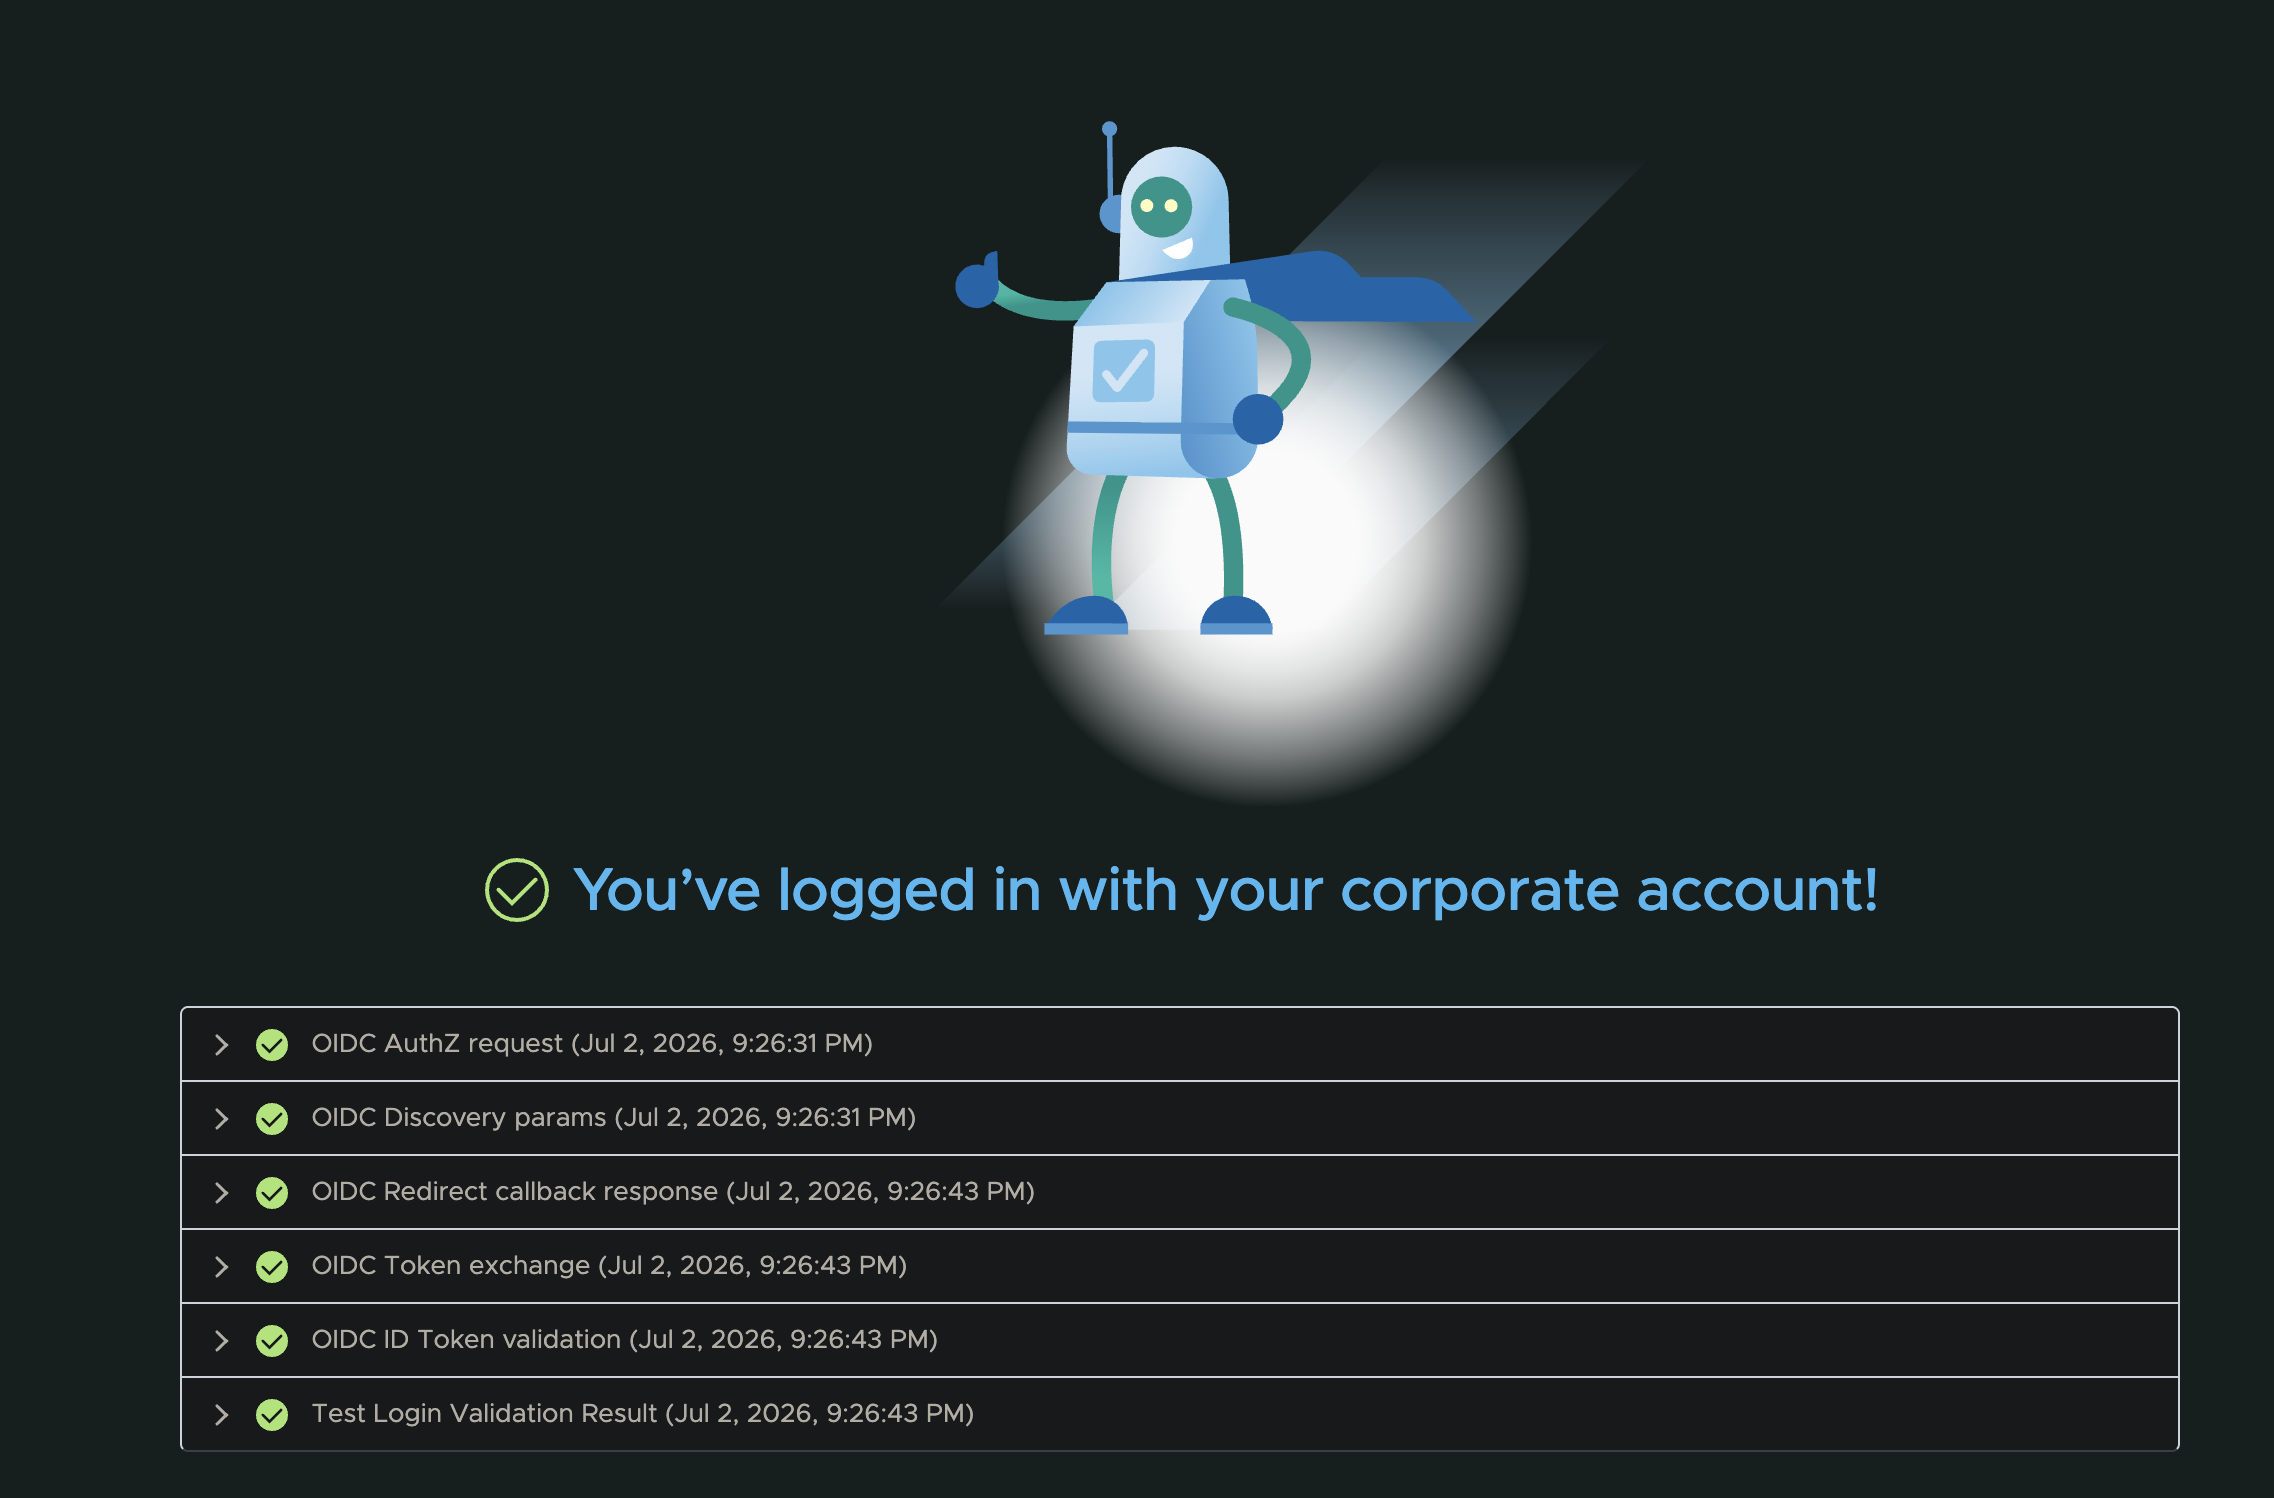
All being well, within VCF Ops you should be able to test login:

And if everything is set up correctly after logging into with your Authentik credentials you’ll see this screen.
Authentik provides a number of TOTP/Passkey options, so feel free to experiment.
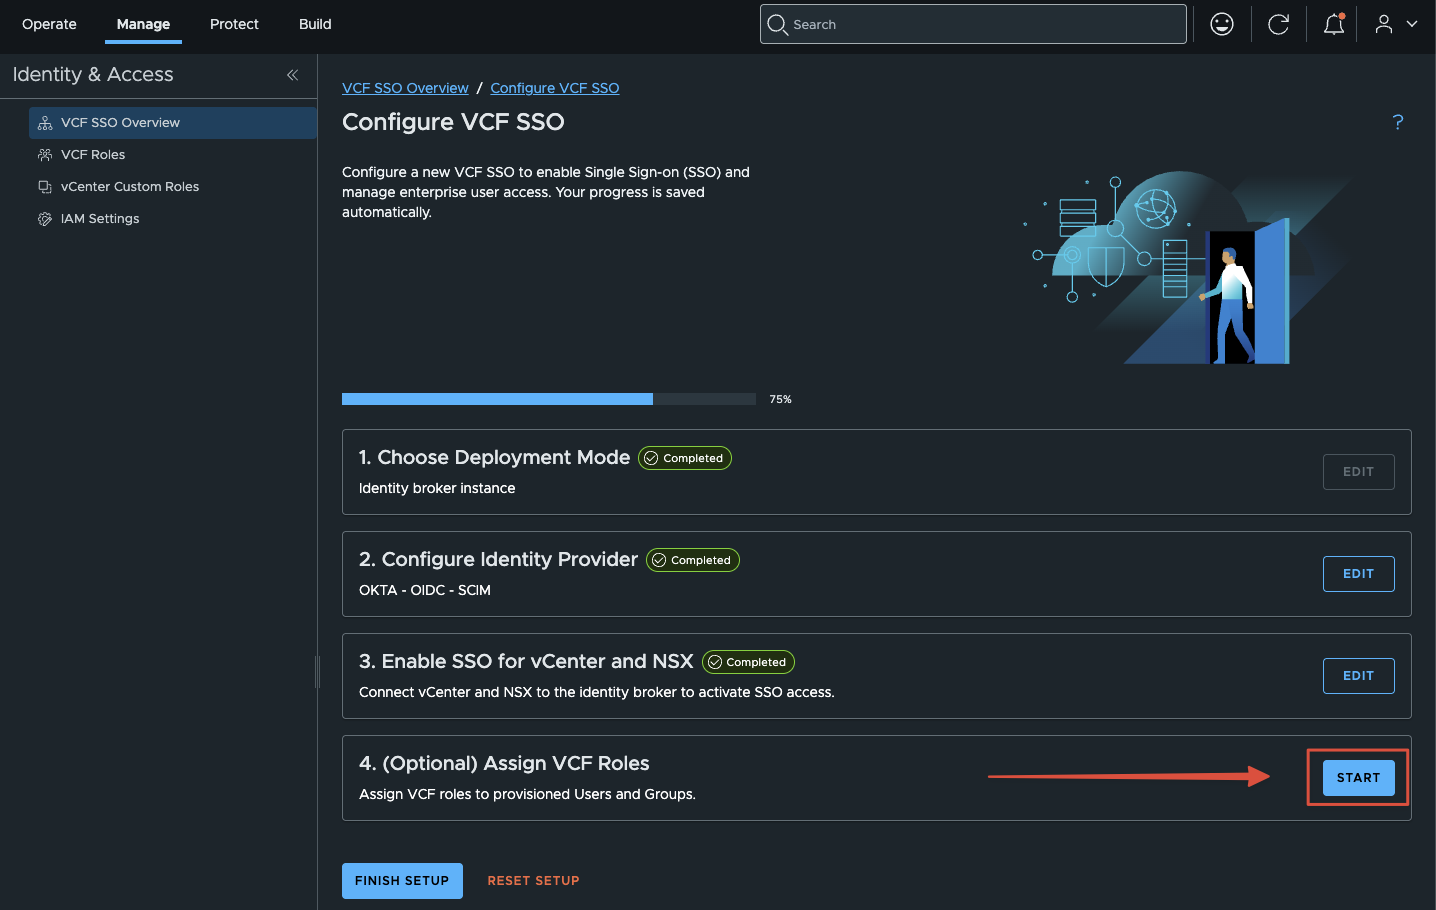
Step 4: Assign Roles and Test Login
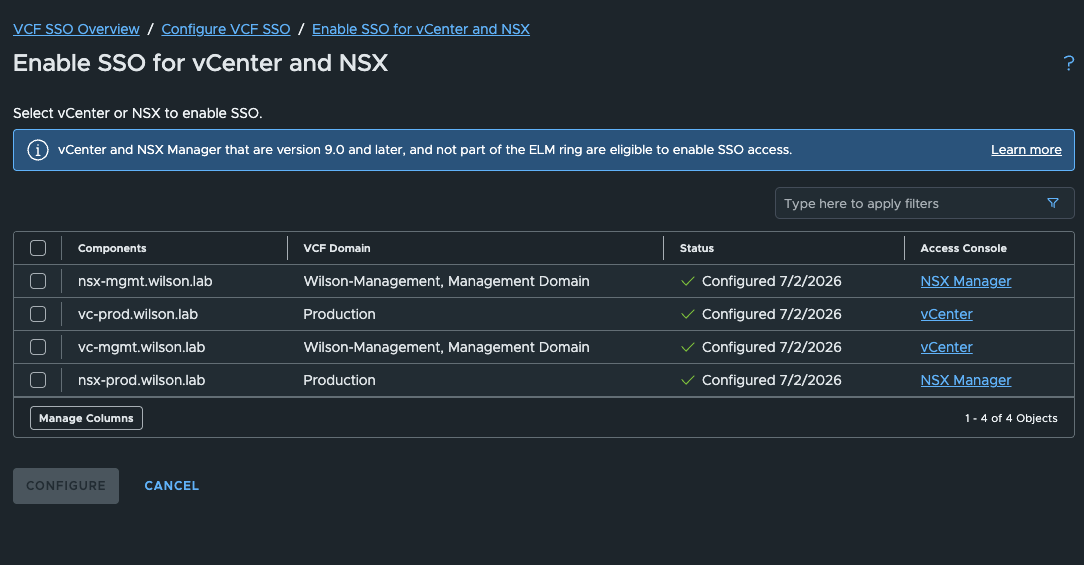
Ensure to push SSO configuration to whatever components you wish:
Next step is to configure access, select your identity broker:
Then configure VCF SSO roles:
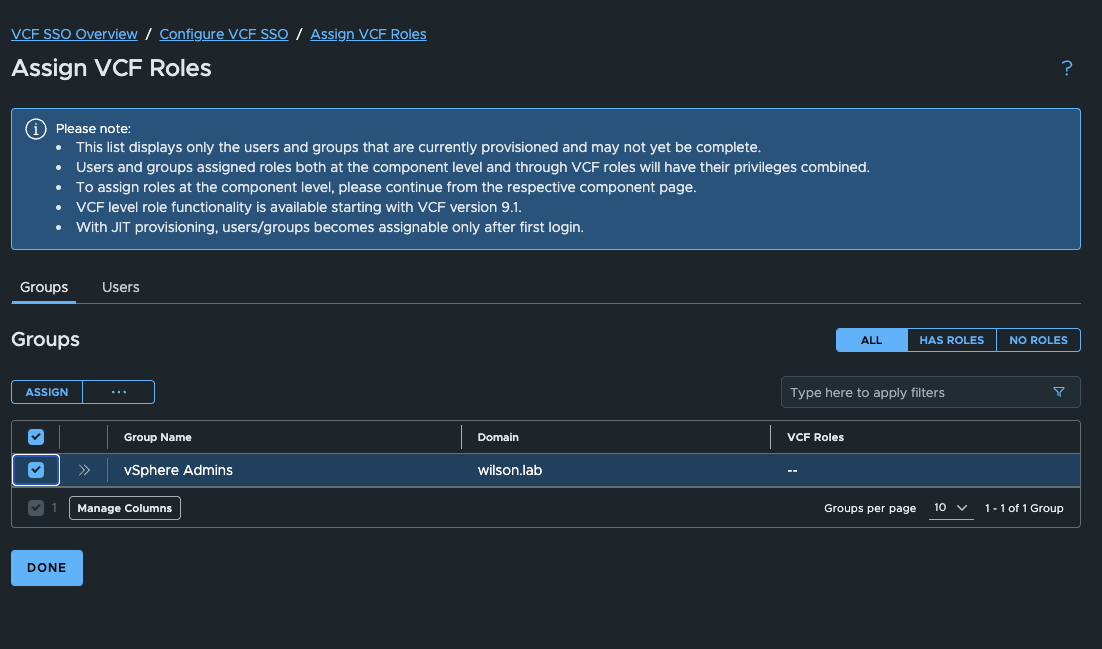
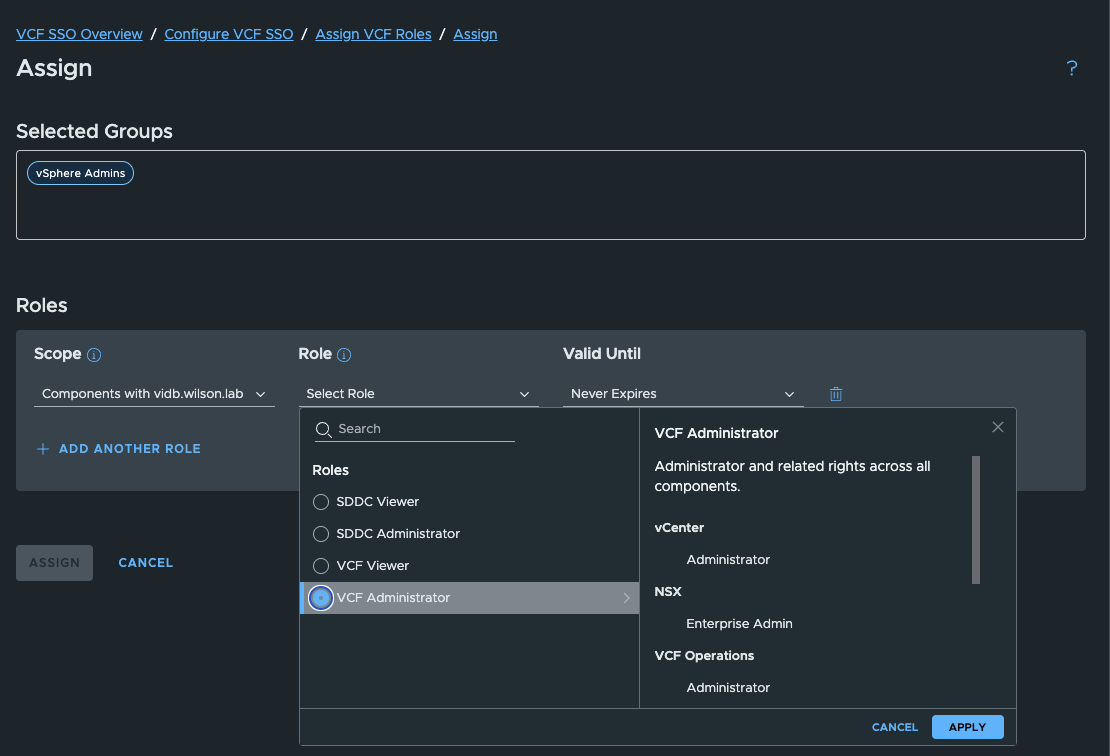
You should see the provisioned group from Authentik here, so assign roles:
Navigating to one of my NSX Managers now shows the VCF SSO login method.
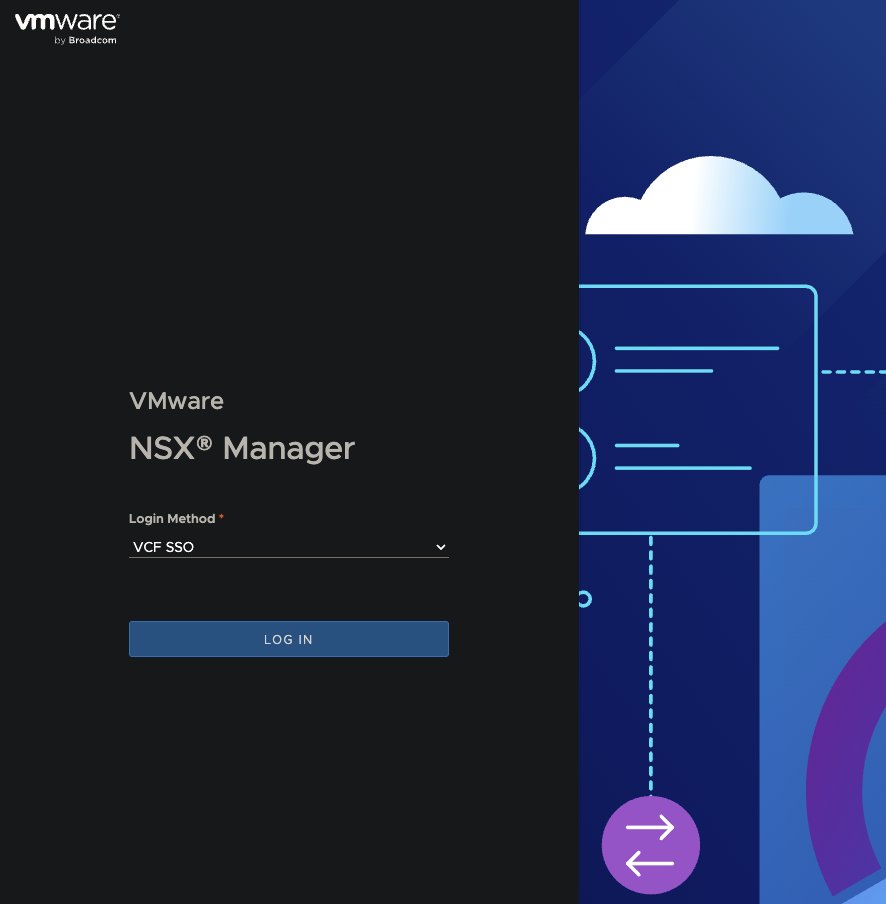
If you did the test login before, it should log you straight in, this is a user within the vSphere Admins group:
Troubleshooting
There’s a couple of items which tripped me up:
- Check the self-signed certificates setting on the SCIM Provider – this has caught me out a few times. If “Verify Certificate” is enabled while you’re using self-signed certs, syncing will silently fail. It’s not obvious from the UI, but you’ll see the reason in Authentik’s logs if you expand the SCIM Provider.
- If in the future you rebuild your VCF instance, you can use the same Client ID/secrets as before, but you will have to generate a new SCIM token, and you must remove any user mappings from SCIM otherwise the users/groups will not get pushed to VIDB
Hopefully this will be useful to some. I’m aware there are alternate IdP’s out there such as Keycloak, but I went with Authentik since as mentioned I already use it for some non-VCF lab stuff I run at home.