Site Recovery Manager is used primarily as a Disaster Recovery tool, it can however be used for Disaster Avoidance and for VM migrations. I’m going to show how you can use SRM to migrate VMs using vSphere Replication between your on-prem datacenter and VMC on AWS.
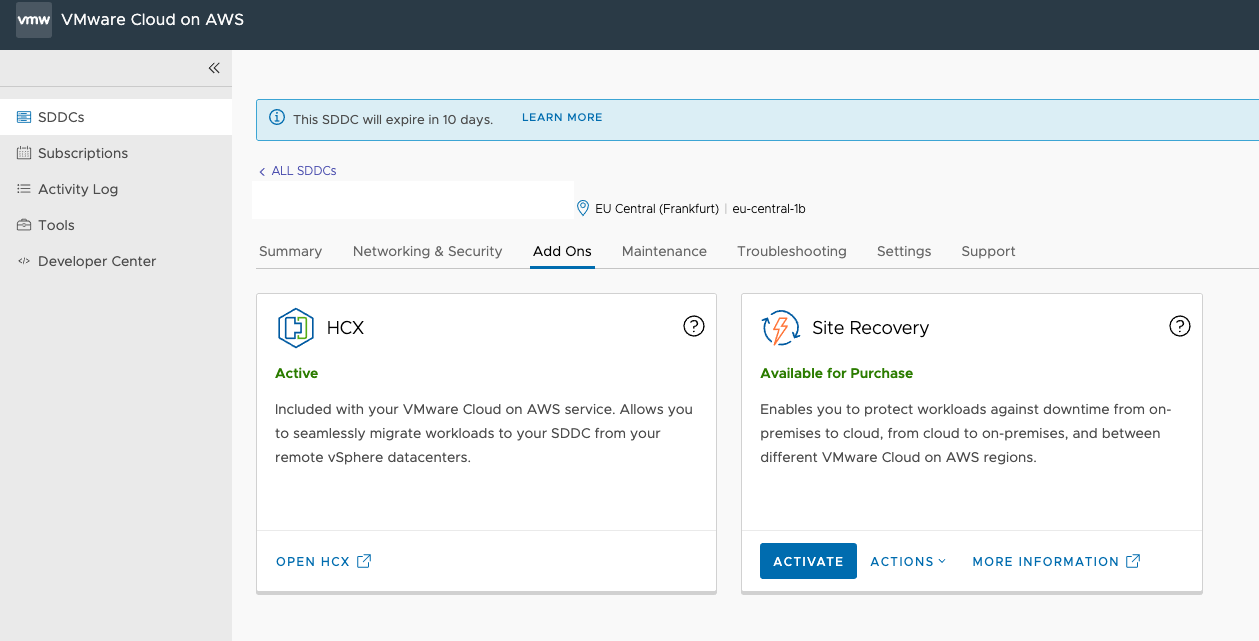
Before we start, we need to deploy SRM and protect a VM. So head to your SDDC > Add Ons then Activate Under SRM.
After pressing on Activate you’ll be presented with this set of instructions. Press on Activate.
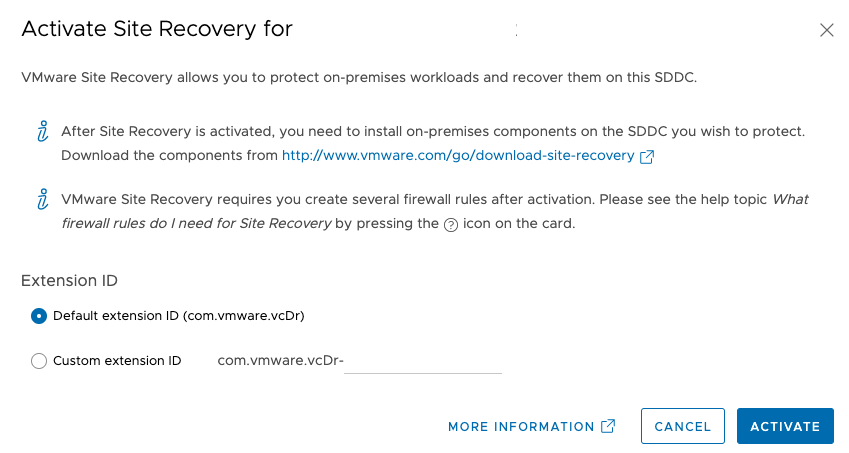
The process will take around 10 minutes, so download the SRM components including vSphere Replication if not already done so in preparation for deploying to your on-prem vCenter. I’ve already covered how to deploy SRM previously, vSphere Replication is done much in the same way. So go ahead and deploy both into your environment while they are both deploying into VMC on AWS.
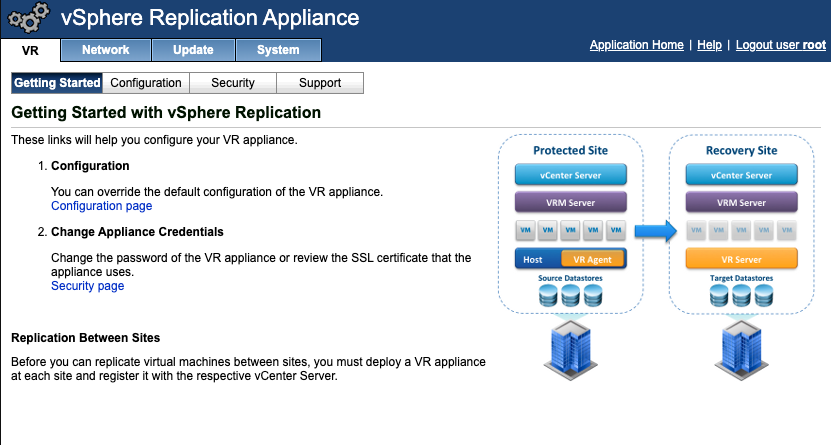
Once VR has been deployed and powered up, open a browser window and connect to the IP of the appliance and log in with the credentials entered during the deployment process.
Then head to Configuration and connect it to your vCenter server.
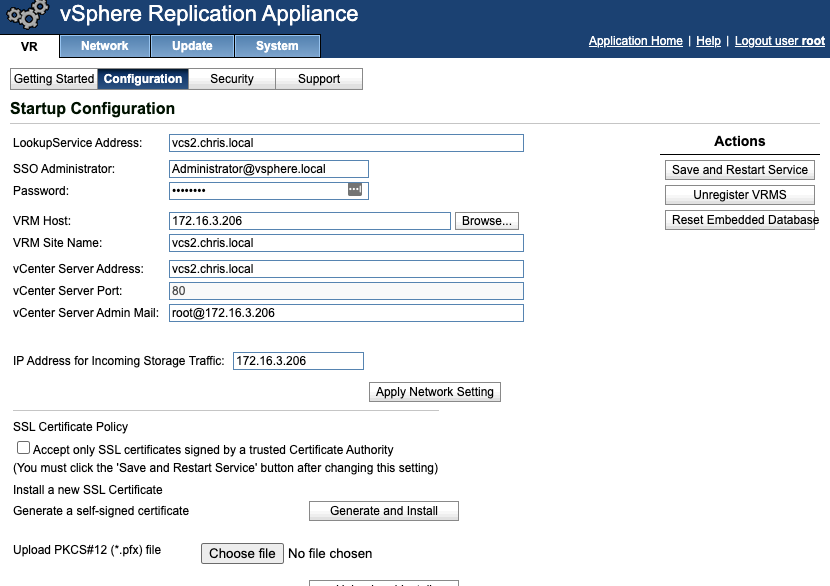
When you save and restart the service, you’ll be prompted with a certificate error, accept it and the appliance will configure. This will take a few minutes to complete. Wait for both services at the bottom to show that they’re running.
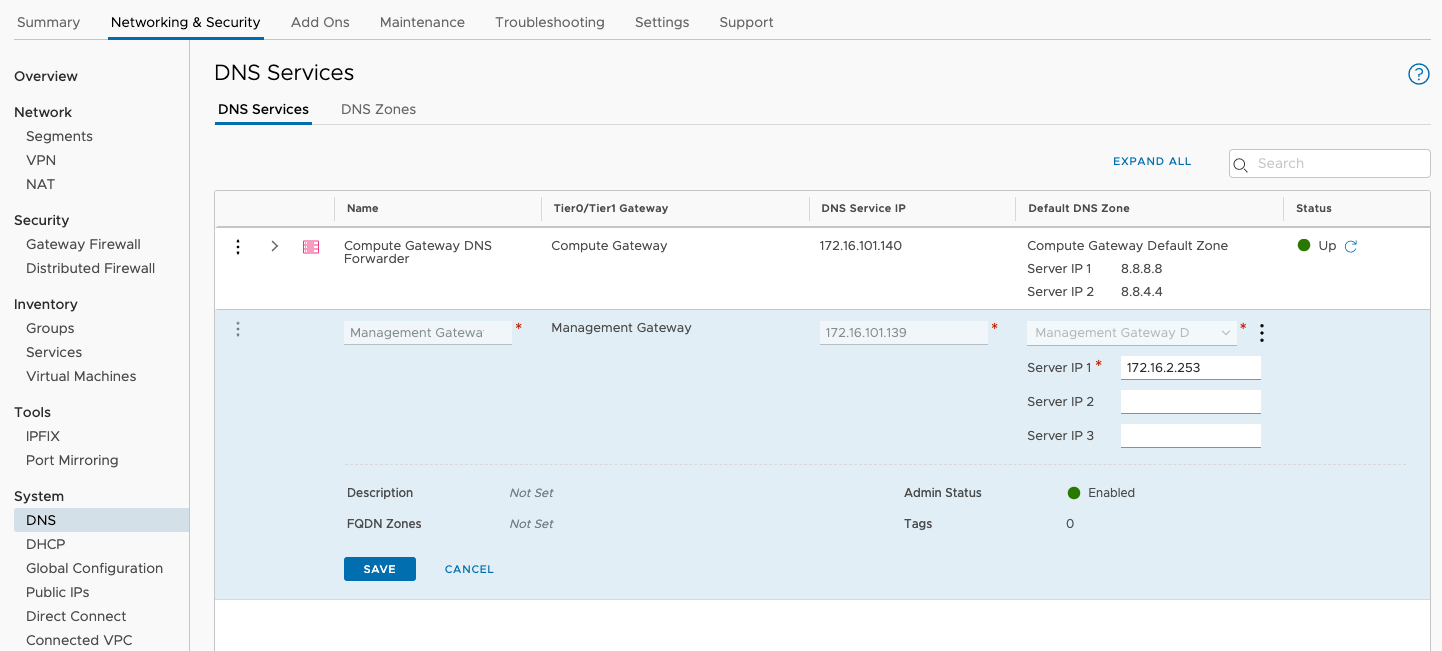
Before we pair the sites, we have to configure the NSX-T Edge firewall on VMC to allow SRM and VR traffic. I previously covered how to configure firewall and set up subnets so check that you if you’re a bit confused. If not head to Networking & Security > Gateway Firewall > Management Gateway and allow your local subnets access to VR and SRM as shown below. You’ll also need to allow the VMC SRM and VR appliances to pass traffic outbound. You can set this to Any/Any but I personally prefer to be a bit more granular and limit it to the VPN defined subnets only.

We also need to set up DNS so that VMC on AWS can resolve your on-rem infrastructure. Head to Networking & Security > DNS (under System). Expand the Management Gateway DNS Forwarder and remove the Google DNS IP and replace it with an on-prem DNS server which can resolve your vCenter server.
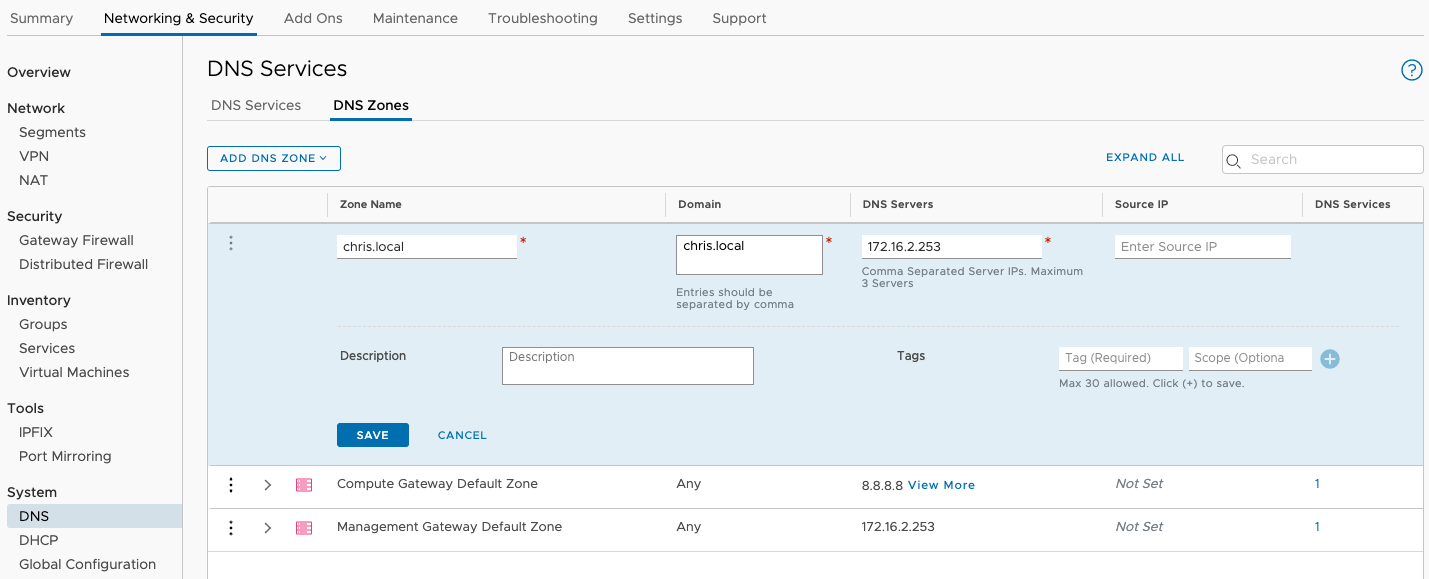
Next head to the DNS Zones tab > Add DNS Zone > Add FQDN Zone. I’ve added my own DNS zone and IP address of a DNS server here. This is so the VMC VMs in the management domain can resolve your on-prem VMs.
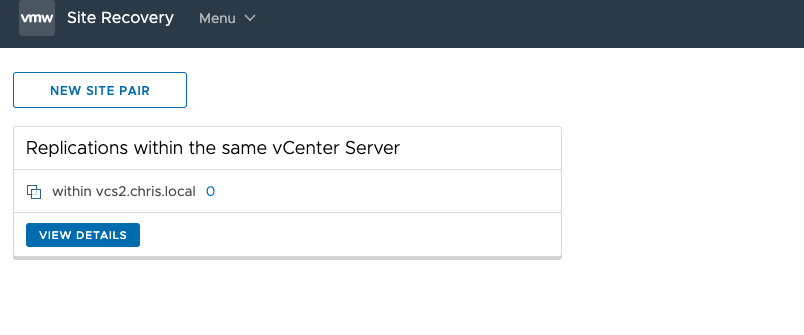
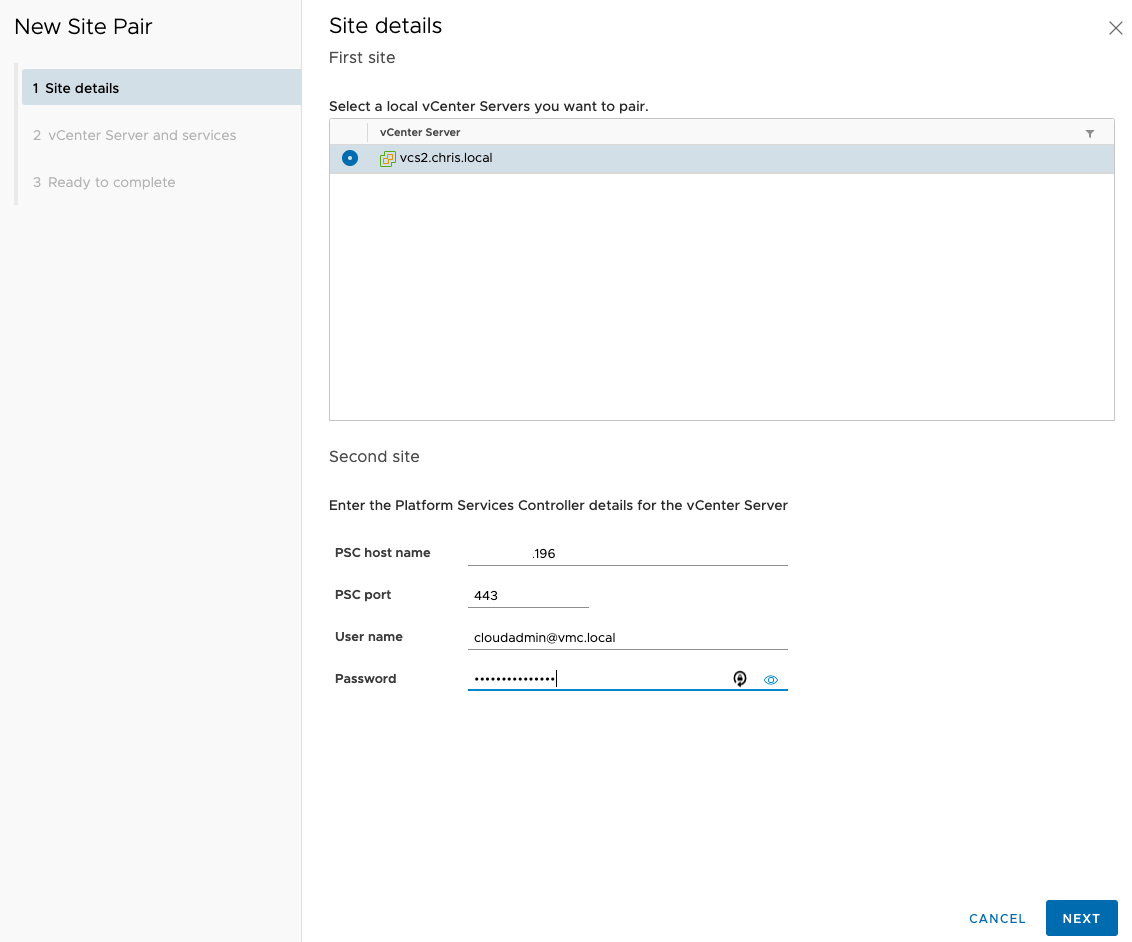
Next launch site recovery at on-prem. If the vCenter plugin hasn’t deployed, you can browse directly to the appliance IP address. Then create a new site pair.
Enter in the details of the VMC on AWS vCenter Server. If the firewall has been configured correctly and all subnets are defined on the site to site VPN, it should connect.
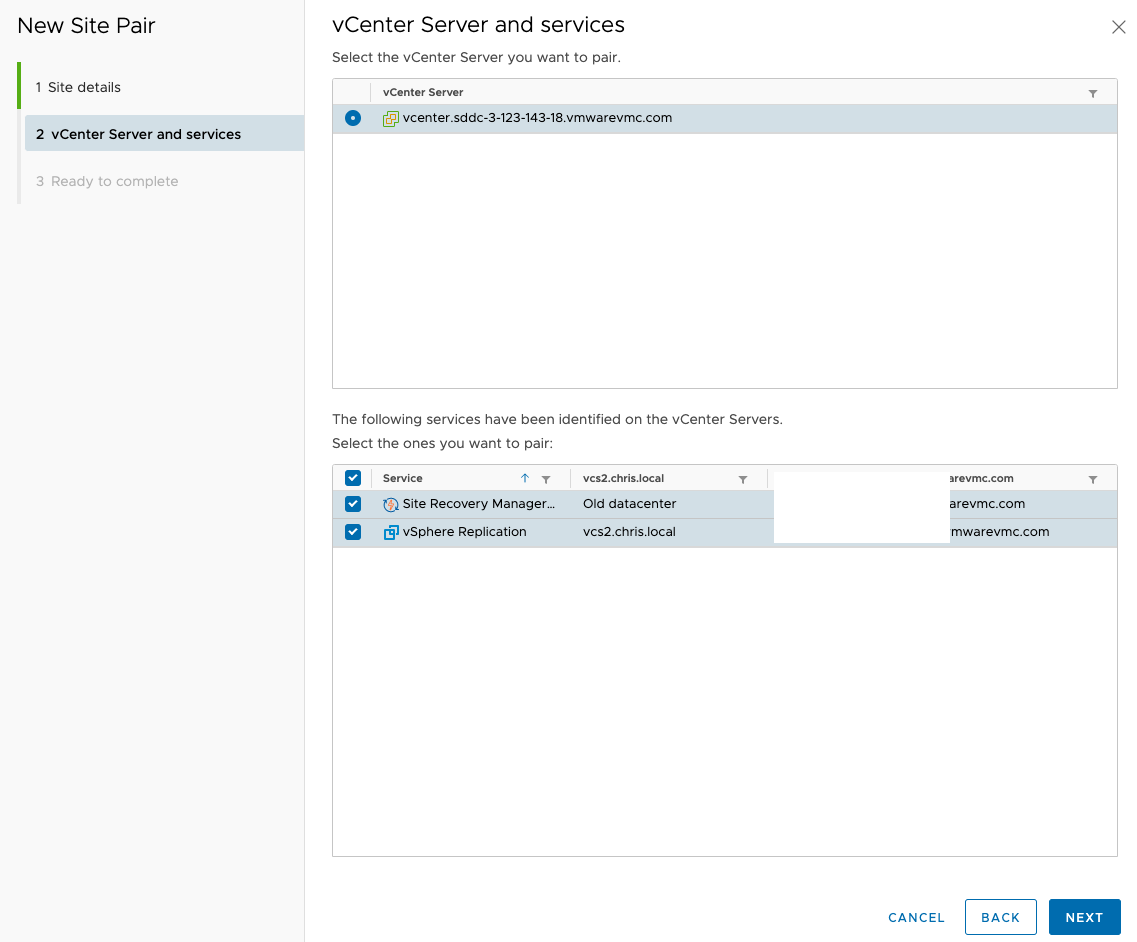
On the next screen we want to select both the SRM and VR components.
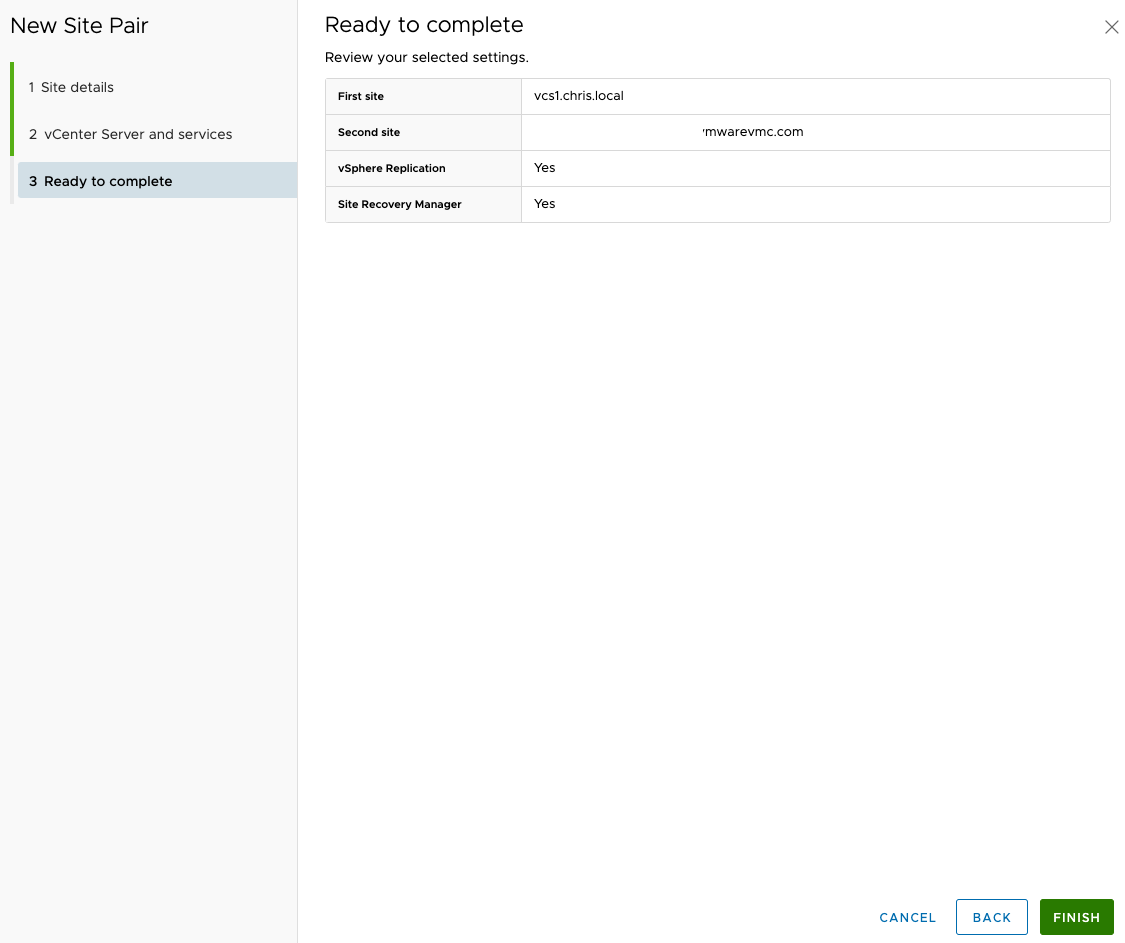
Accept the certificate and press finish once complete.
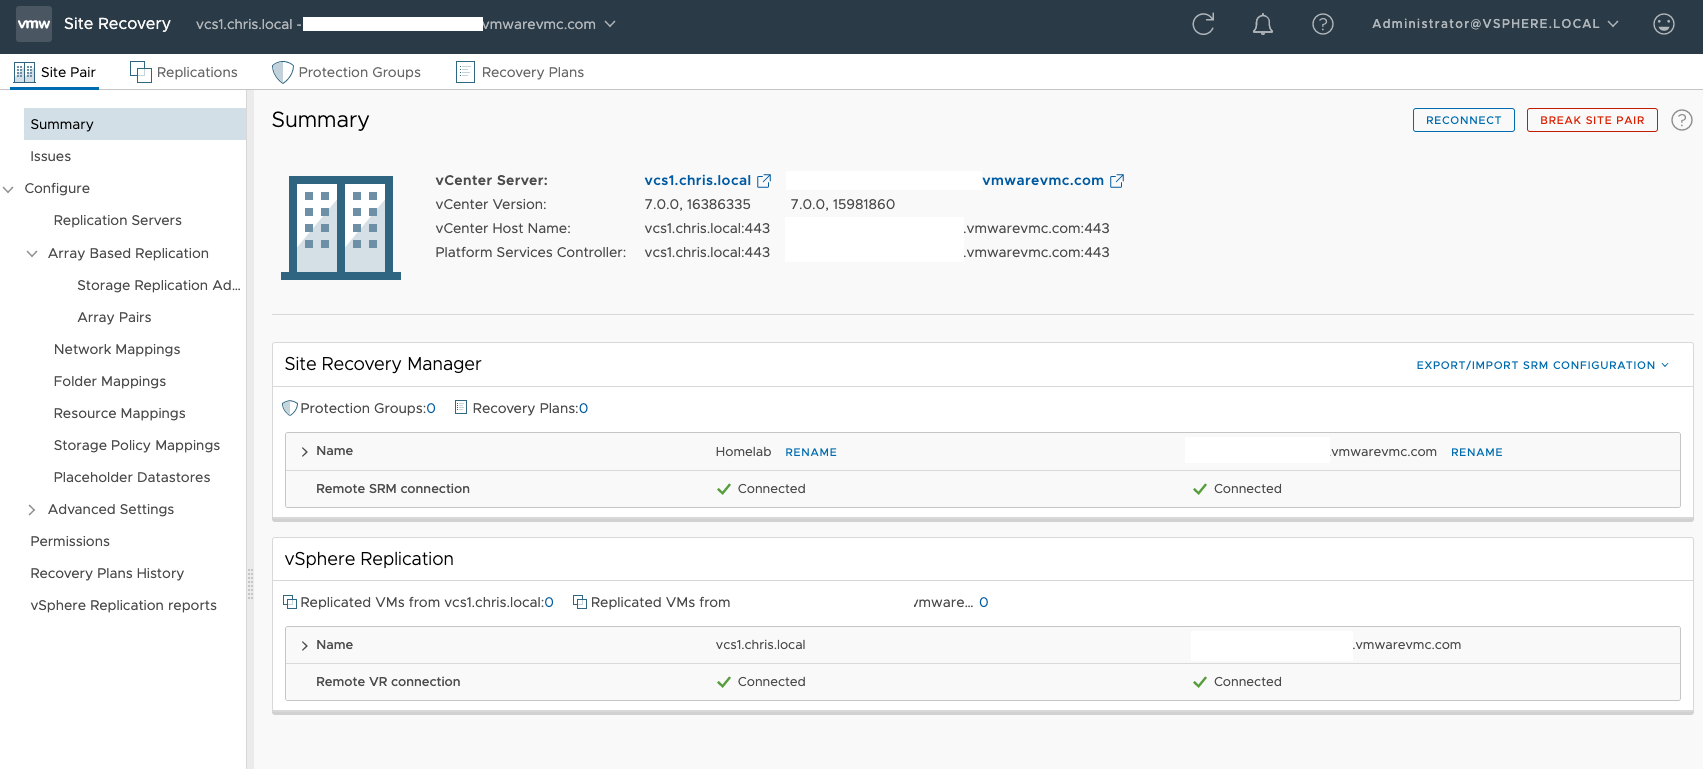
Now when logging into SRM you should see the site pair.
The next step would be to configure the actual replication, which I will cover at a later date and update here with a link. I hope this has been useful.